Monthly Archives: April 2021


Instant Pot Hamburger Stroganoff
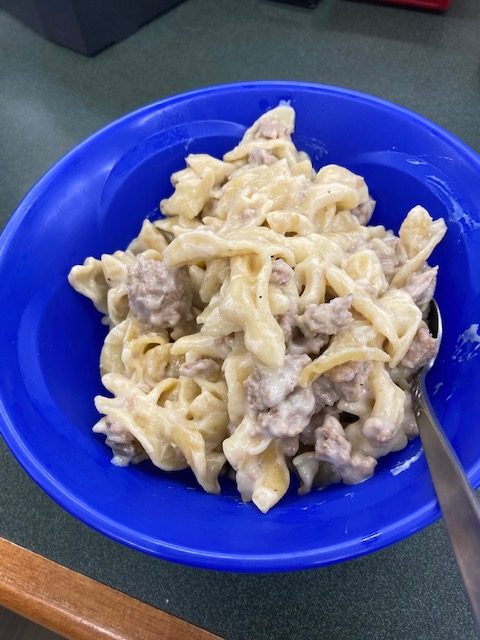
We found this on pinterest and thought it might be good enough to eat. Here goes!

yield: 4 SERVINGS

prep time: 15 MINUTES

cook time: 15 MINUTES

total time: 30 MINUTES

INGREDIENTS

  • 1 lb. ground beef
  • 1/2 onion, chopped
  • 2 cloves garlic, minced
  • Salt & Pepper to taste
  • 1 tablespoon flour
  • 1 – 10.5 oz. can cream of mushroom soup
  • 1 teaspoon Worcestershire sauce
  • 3 cups low sodium beef broth
  • 3 cups egg noodles, uncooked
  • 1 cup sour cream

DIRECTIONS

1.Spray Instant Pot with nonstick cooking spray.

2.Brown meat, onion, and garlic using the SAUTE function on the Instant Pot. Season with salt & pepper. We were living on the edge and used ground turkey. Spectacular!
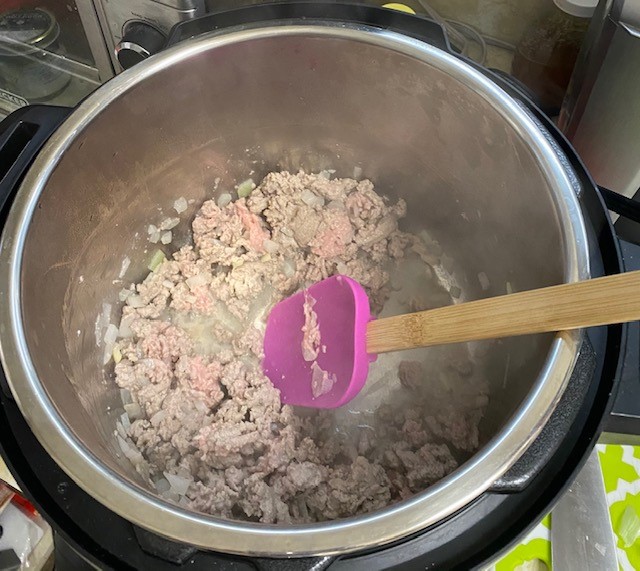
3.Add in flour and stir well.

4.Stir in cream of mushroom soup, beef broth, and Worcestershire sauce.

5.Add uncooked noodles and stir.

6.Place lid on Instant Pot and set to 8 minutes on HIGH pressure.

7.Once finished, turn the valve from sealing to venting to Quick Release the pressure.

8.Remove lid and stir in sour cream before serving.

Brought to you by Hip2Save.
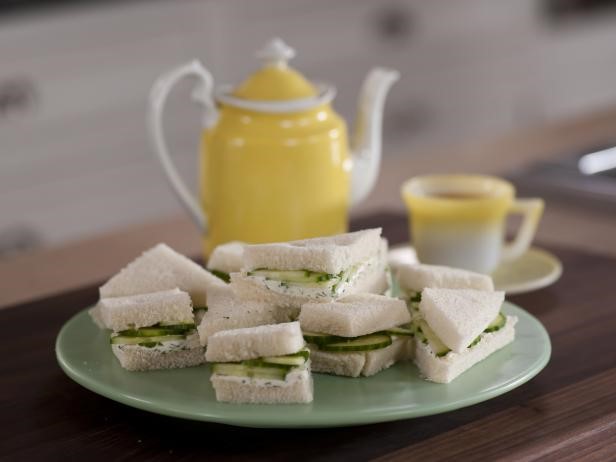

Mother’s Day Tea at Home

Mother’s Day Tea at home. 

4 ounces cream cheese, at room temperature

2 tablespoons chopped fresh dill (Dried Dill works well also)

Zest and juice of 1 lemon

Kosher salt and freshly ground black pepper

6 slices good-quality white bread*

1/3 large English seedless cucumber (about 4 inches), thinly sliced

Iced Tea or Hot Tea in a pretty cup.

Directions:

In a small bowl, combine the cream cheese, fresh dill, lemon zest, and lemon juice. Season the mixture with salt and pepper.

If using a full loaf, freeze and take out just before assembling.  Cutting the crust off while frozen, makes a nice clean cut with very fresh soft bread. 

Assemble the sandwiches while partially frozen, lay the slices of bread on your work service and distribute the cream cheese evenly among each slice, spreading into a thin layer. Arrange the cucumber slices in rows over 3 slices of the bread and cream cheese mix. Top with the remaining bread, and cut into quarters so there are 4 pieces from each sandwich, cover with plastic wrap and place in refrigerator to finish thawing. When table is all set with napkins and pretty little plates and tea, take sandwiches out and set on the table with some home-made flowers from paper, or little clippings from the yard. 

  This will help the sandwiches stay fresh and delicious.  Enjoy a special tea with Mom or Grandma or that special person in your life who makes every day important.  Happy Mother’s Day!


Mother’s Day Pop-Up Card

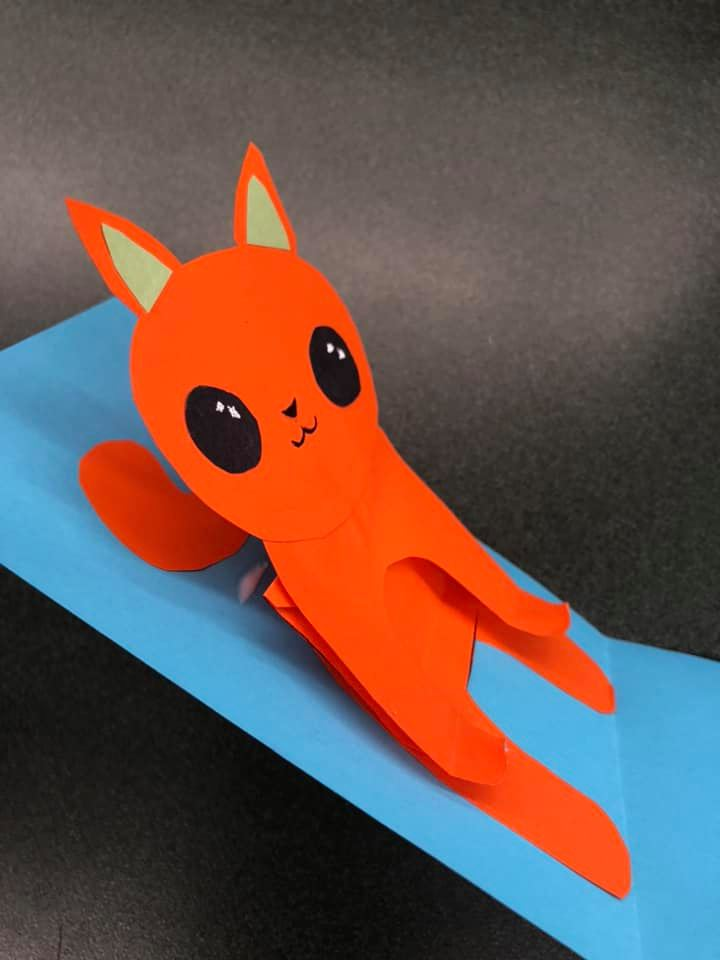
Pop-Up Mother’s Day Card

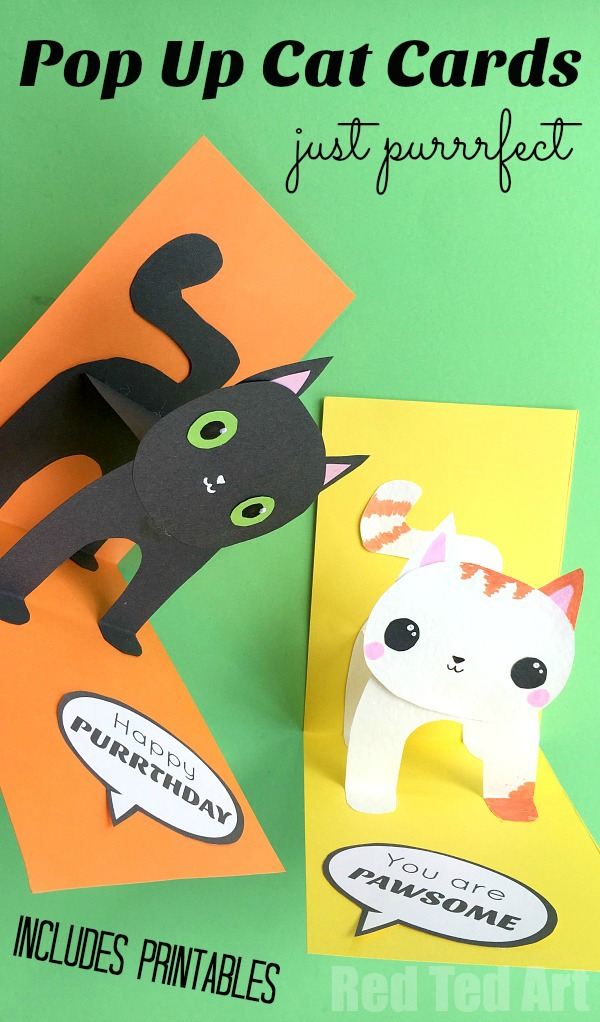
3D Cat Card DIY

Materials needed:

  • 1 sheet of cardstock in color of choice (background color)
  • Paper in different colors (heavy paper stock better)
  • Glue stick
  • Scissors
  • Pens, white-out for reflection in eyes
  • You can use this FREE POP UP CARD PRINTABLE:
  1. Begin by cutting your cardstock length ways in half and fold. (If you are using a library Take-and-Make, this step will already be done for you)
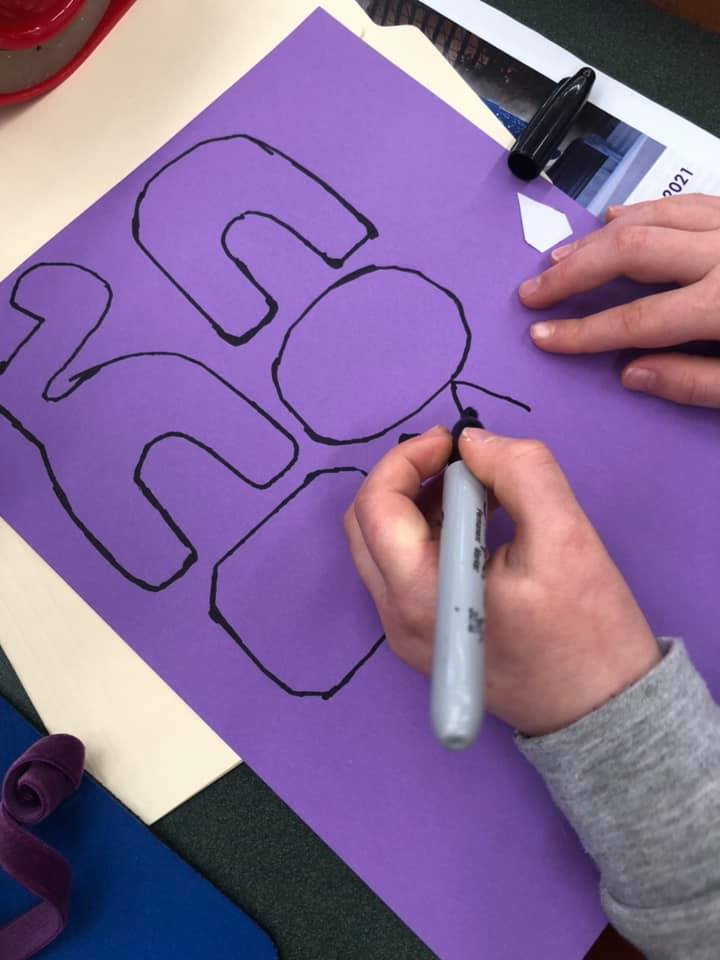
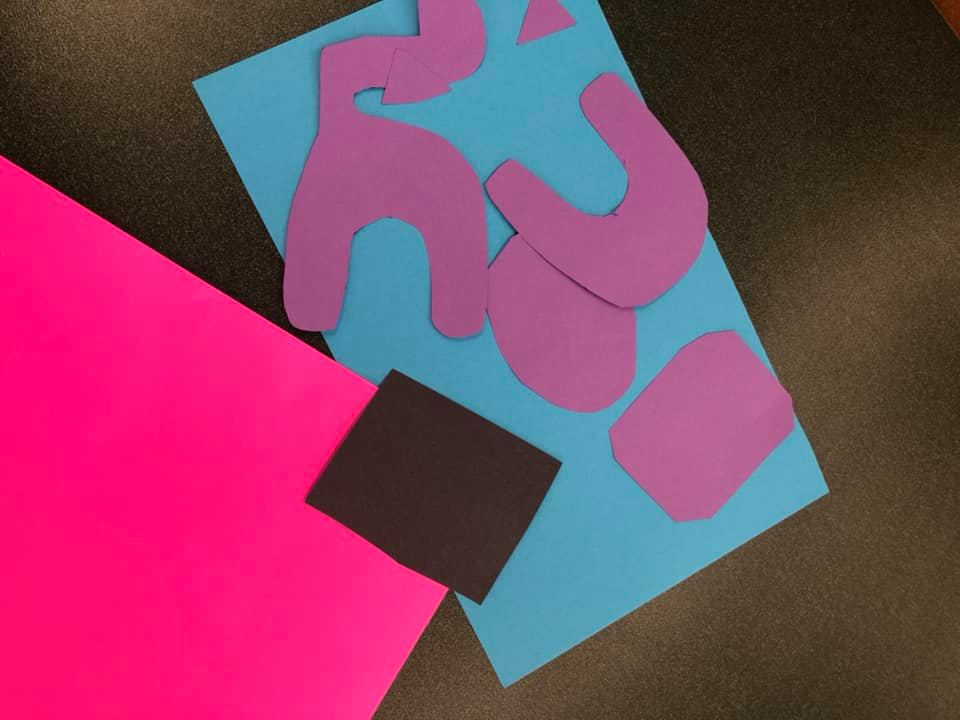
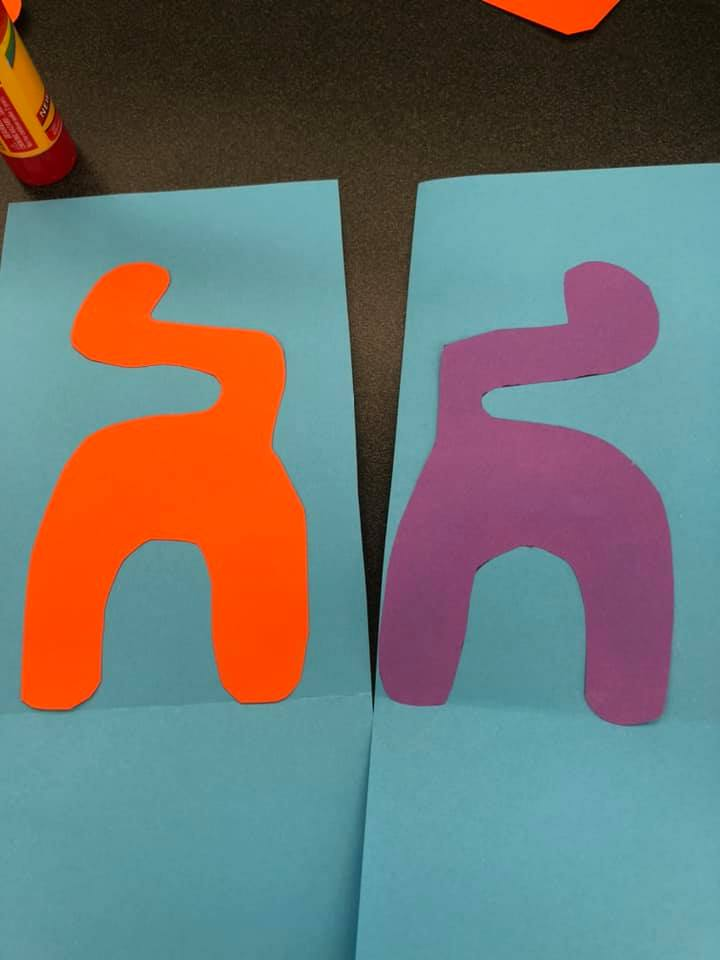
  2. Next cut out your free printable – you need a head, a back body with tail, a front body, middle bit and separate ears. Print out on colored paper, or cut pattern out on white paper and trace out on colored paper. (If you are using a library Take-and-Make, this pre-printed page should be in your packet.)

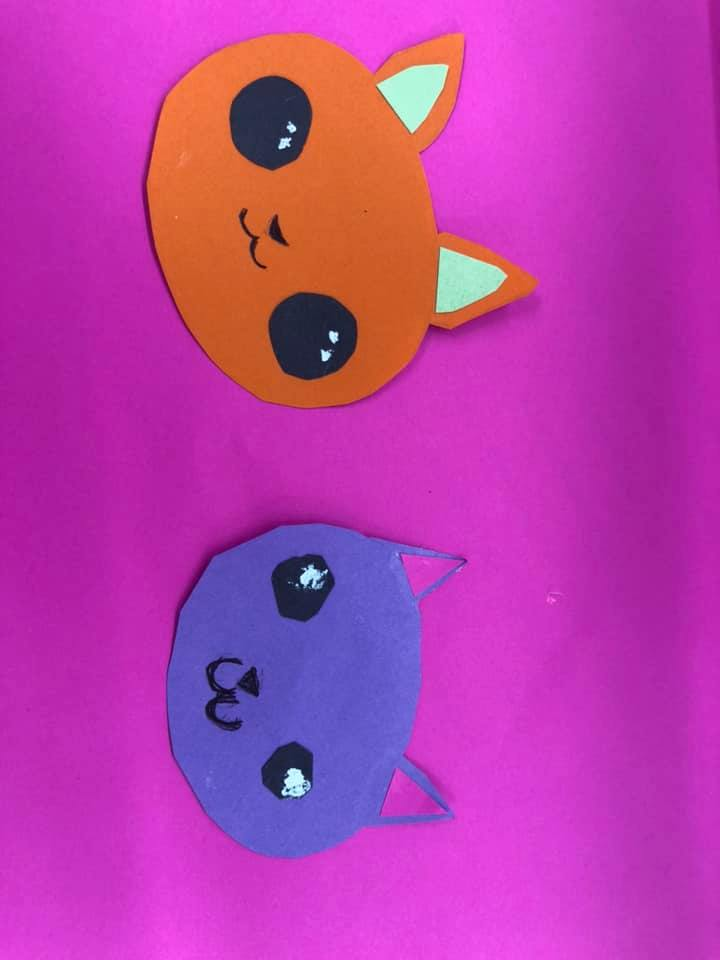
3. Draw the mouth/nose on the face using pen or marker and glue the eyes onto the face. We cut and glued inner ear pieces using a different color and then glued the ears to the backside of the face. Add the white dots to the eyes using white out or a silver marker and allow to dry completely.

4. Glue the back legs/tail piece on at fold. Really, we should have folded the feet just a tiny bit and glued the tips of the toes below the fold, but this pattern is pretty forgiving, so it worked fine.

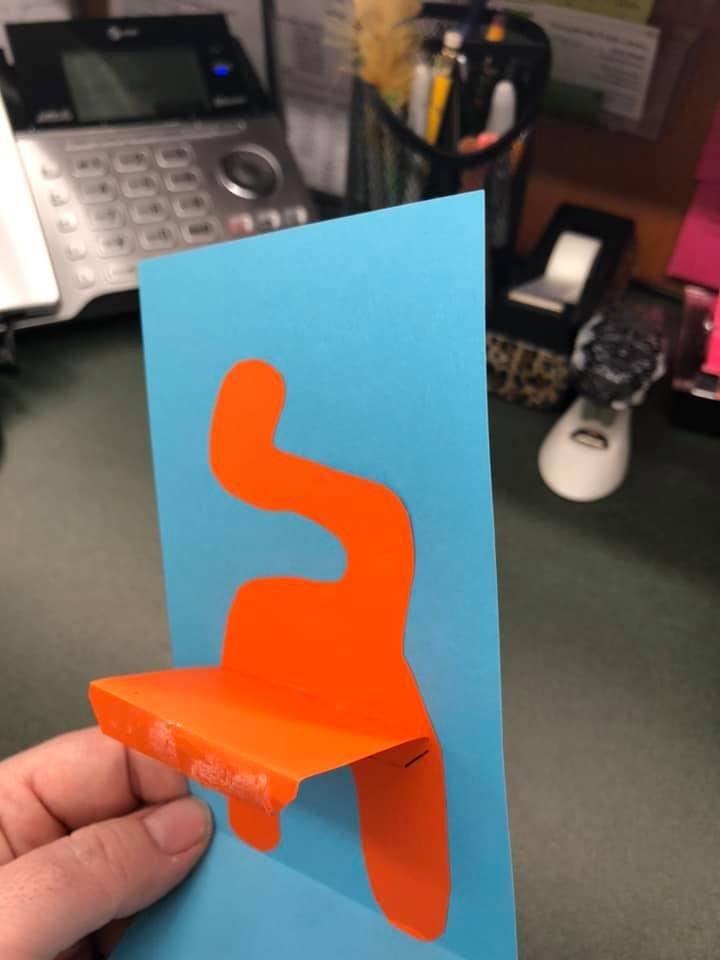
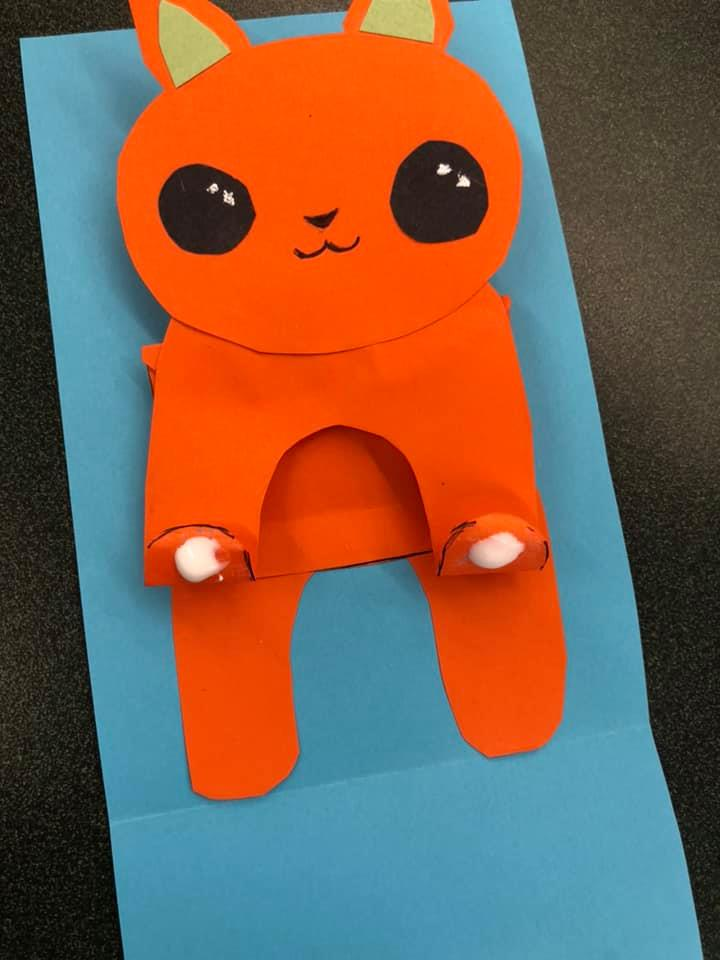
5. Next, fold 2 flaps on the rectangular piece so that it looks almost like a box lid. Glue one of those flaps to the back legs as pictured above.

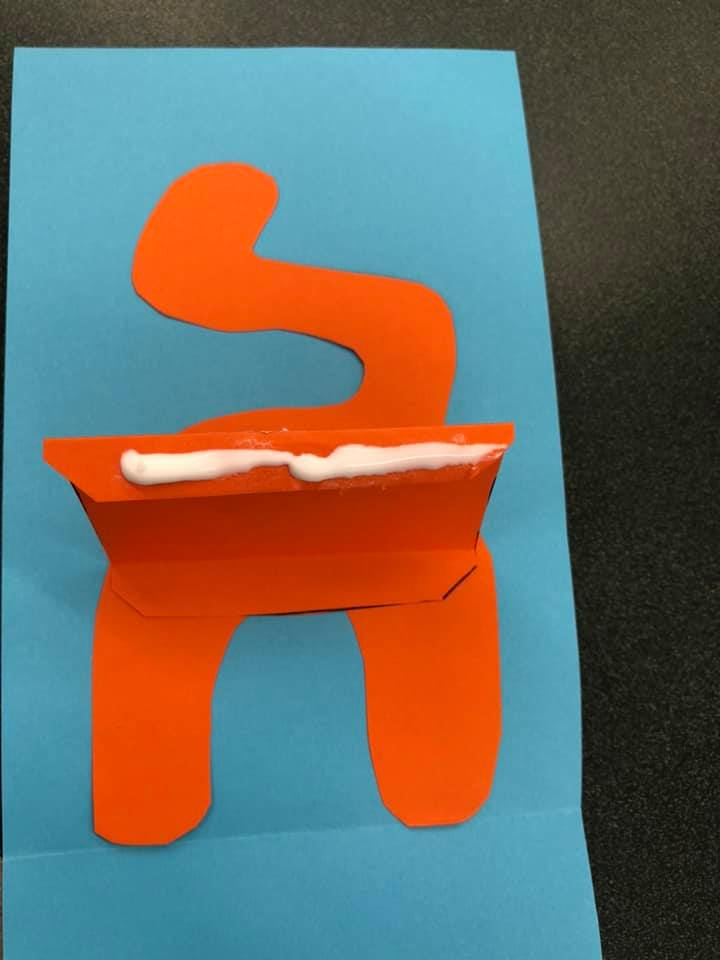
6. Add a line of glue to the facing flap and glue the cat’s front legs. Glue the cat face onto the front legs.

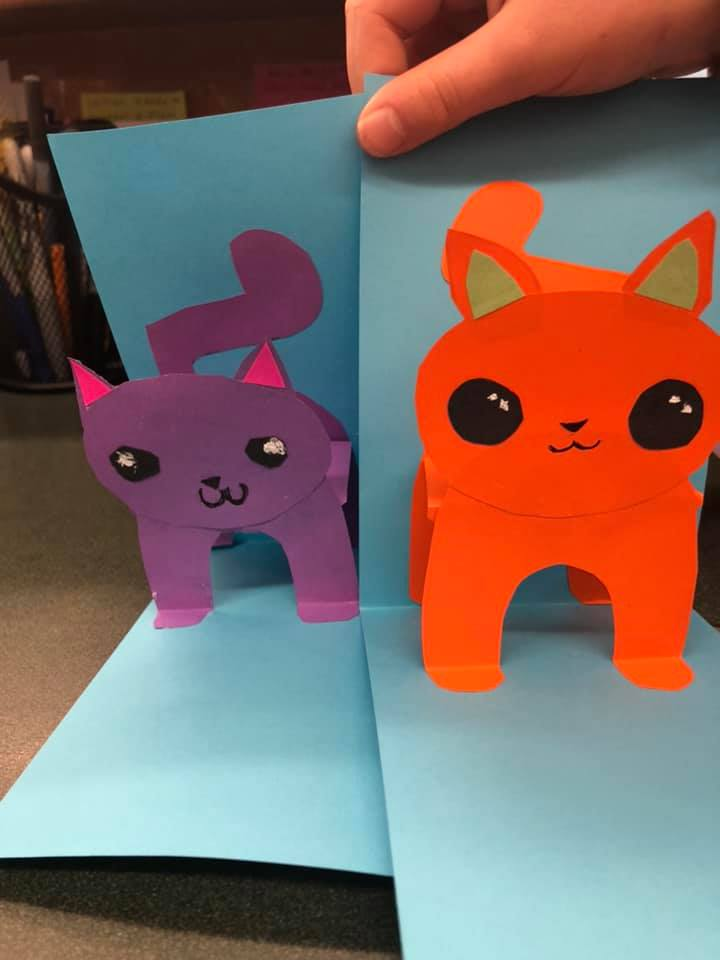
7. Fold the paws up just a little bit, evenly on both paws and dot with glue. Carefully, keeping the cat flat, fold the blue cardstock up and over the cat, adhering the front paws to the blue cardstock. This will allow the cat to fold flat AND to open up in 3-D. 

Check out our final reveal: