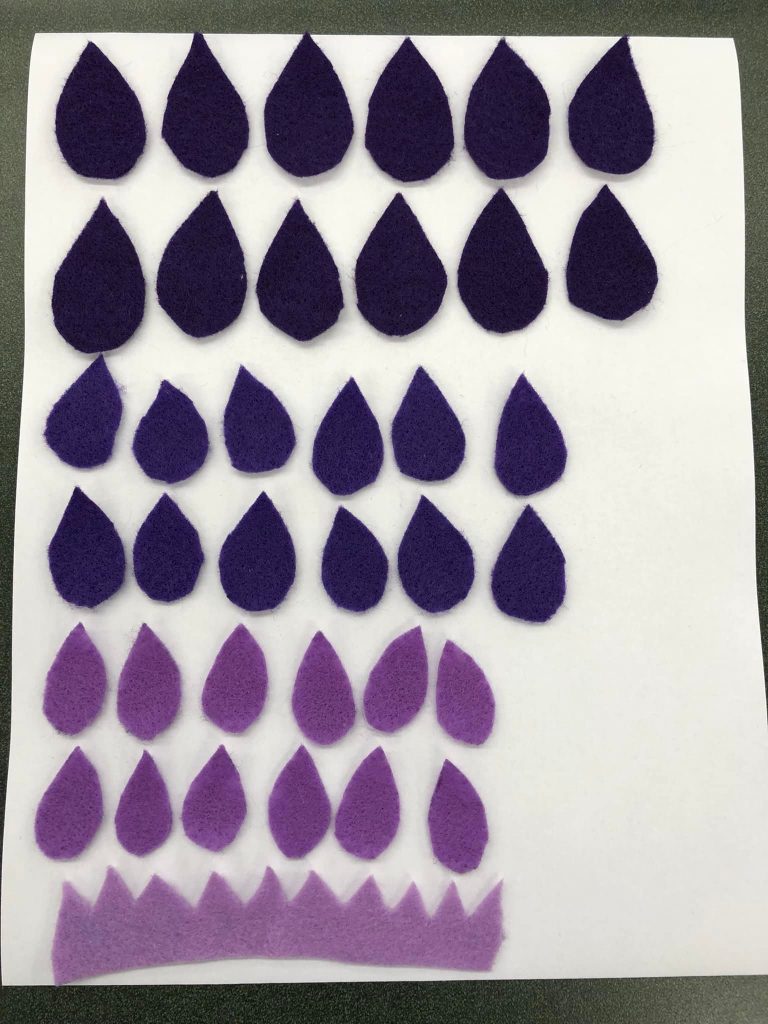
Felt Leaf Sewing Project
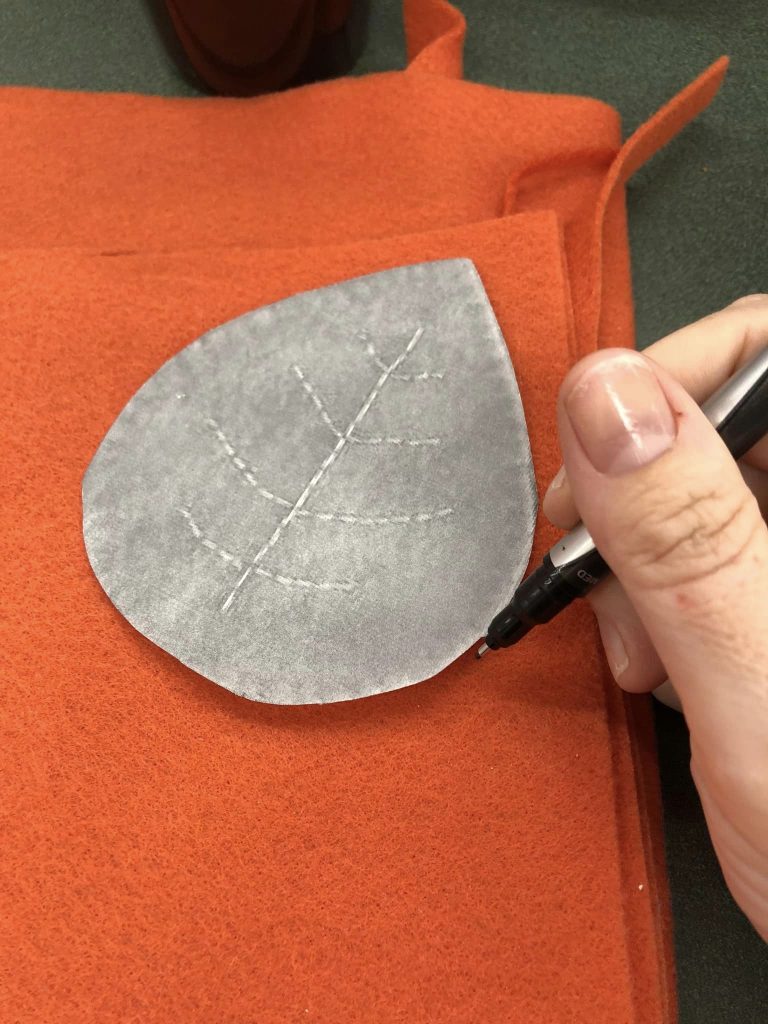
lightly trace template onto felt
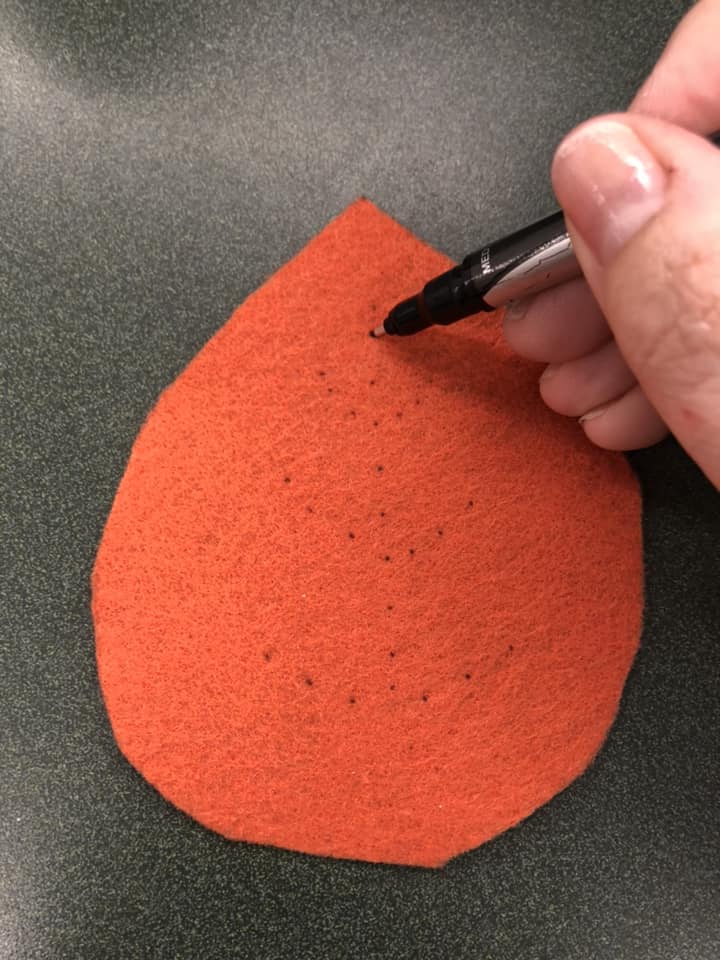
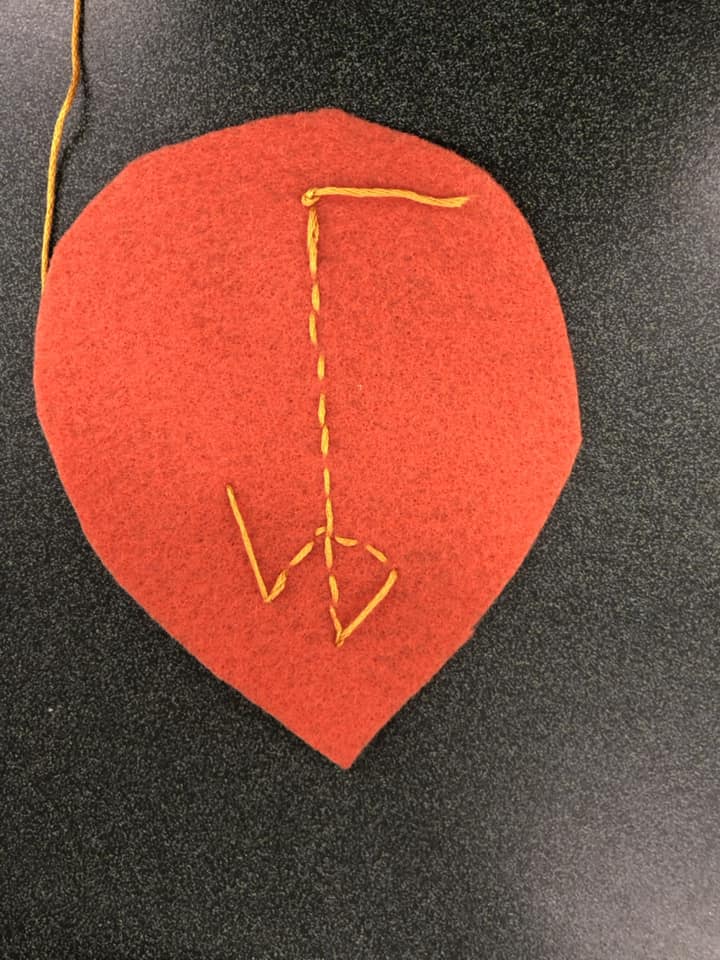
lightly dot a basic plan for veins
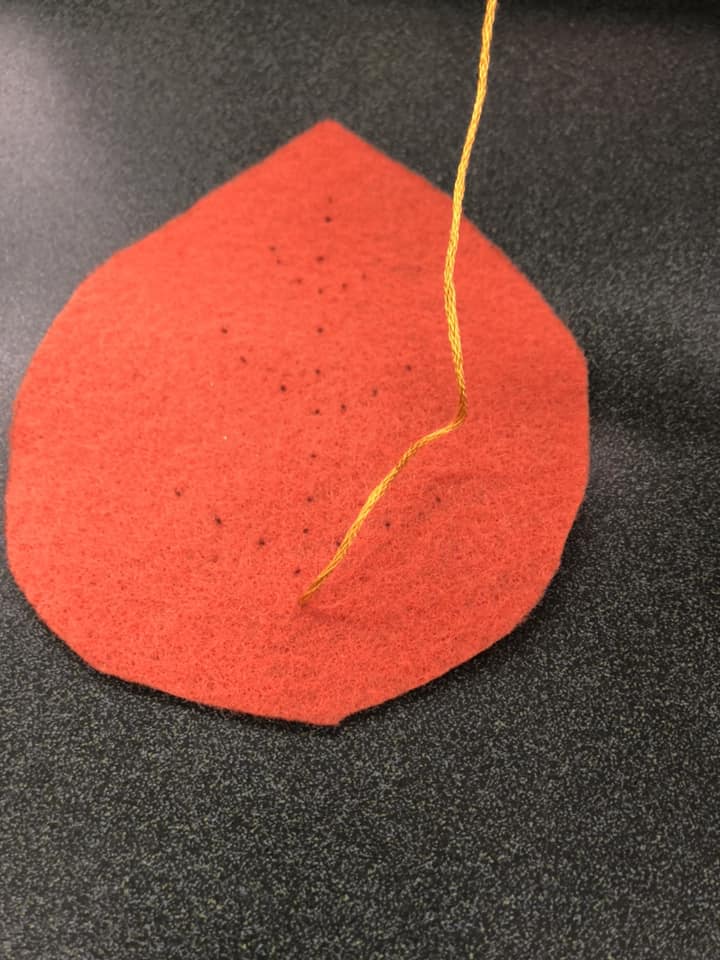
knot floss and begin (leaving knot on the wrong side)
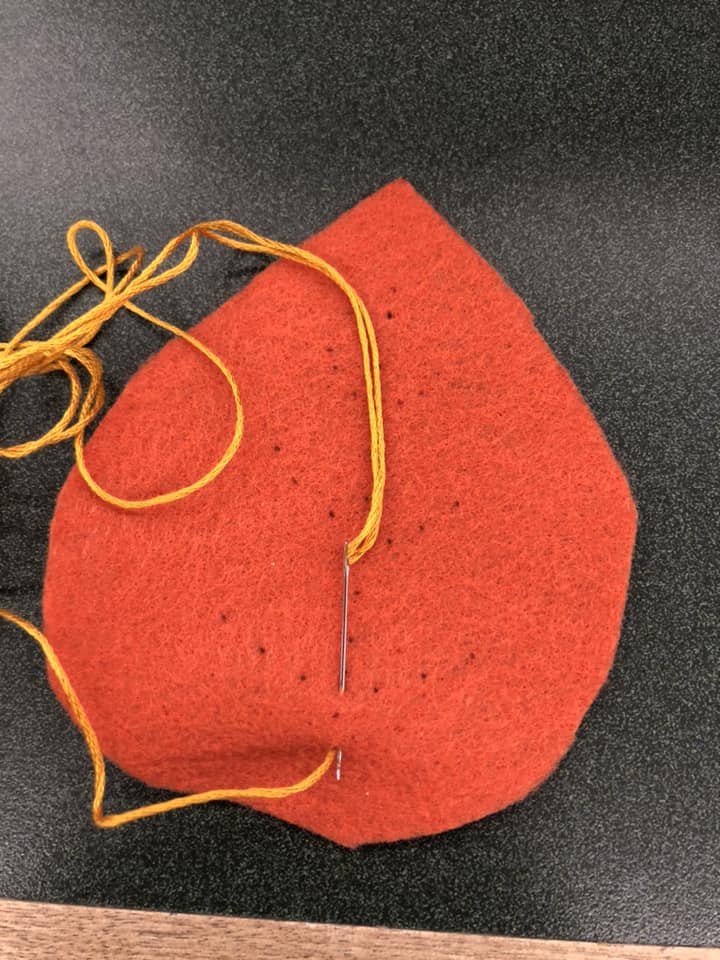
keeping floss to the left, begin stitching
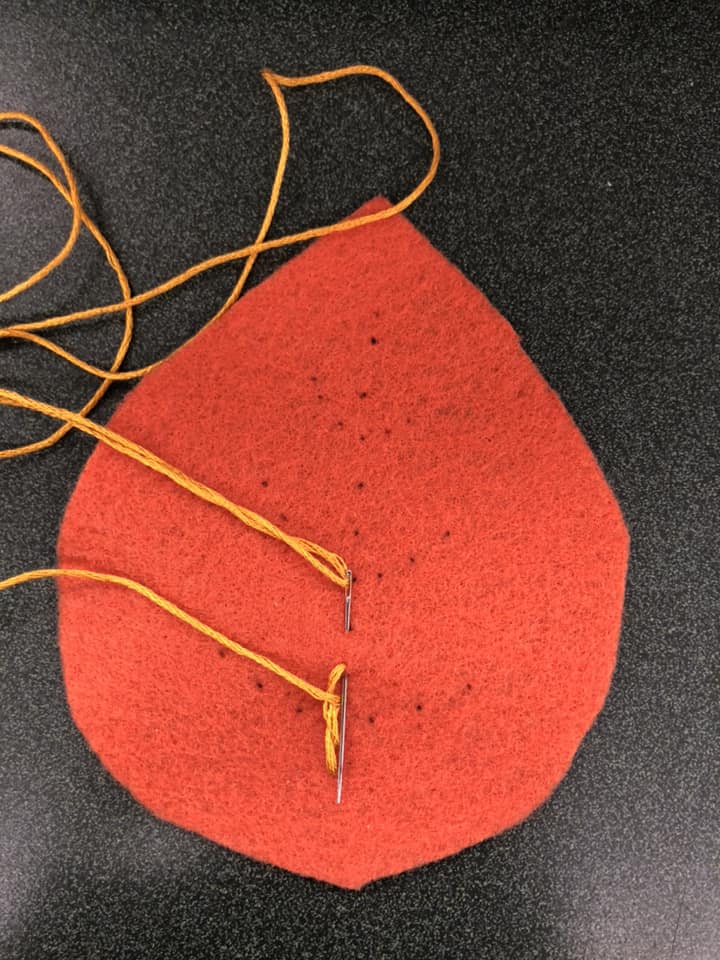
always with floss to the left, overlap your stitches a bit if you like
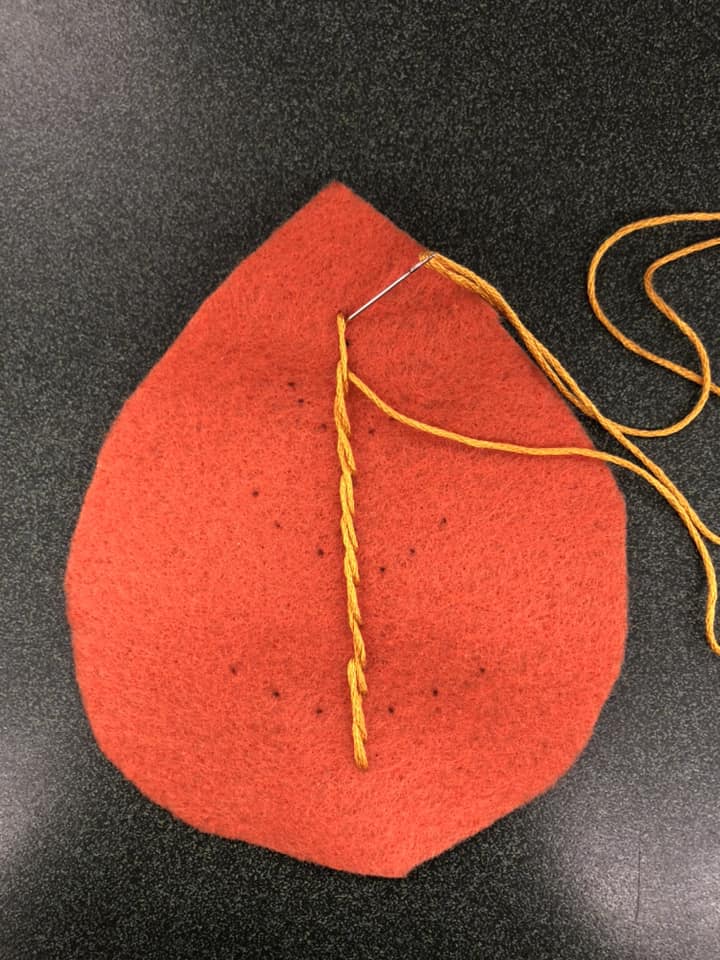
this first twisted vein is ready to end
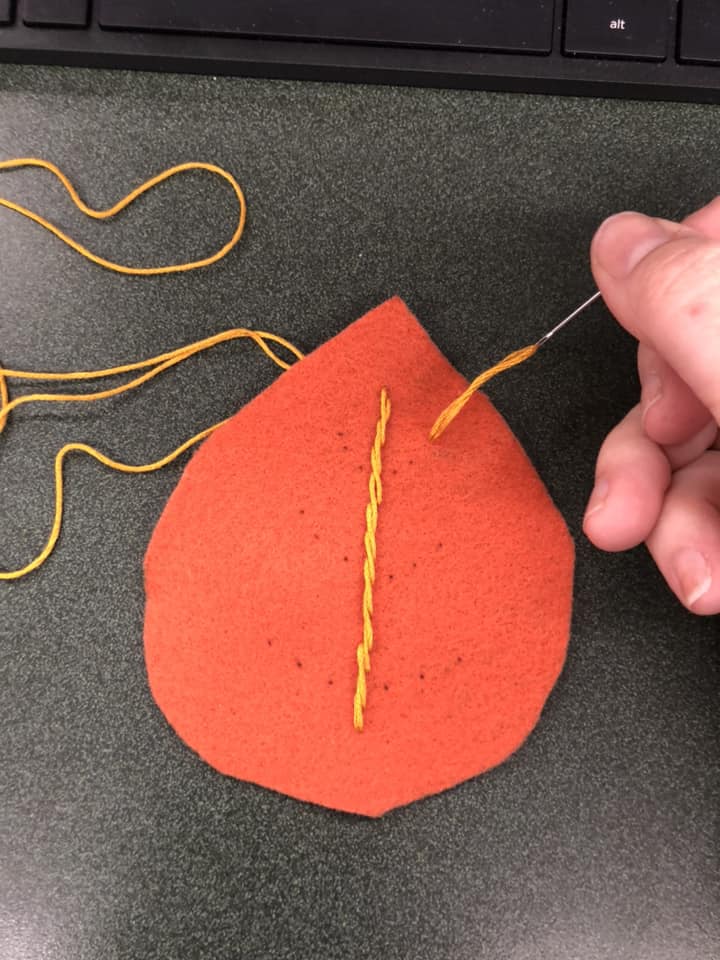
use the wrong side to “jump” to a new spot to continue veins
I chose for my side veins to never cross over the central one
the wrong side will look ugly and that’s okay
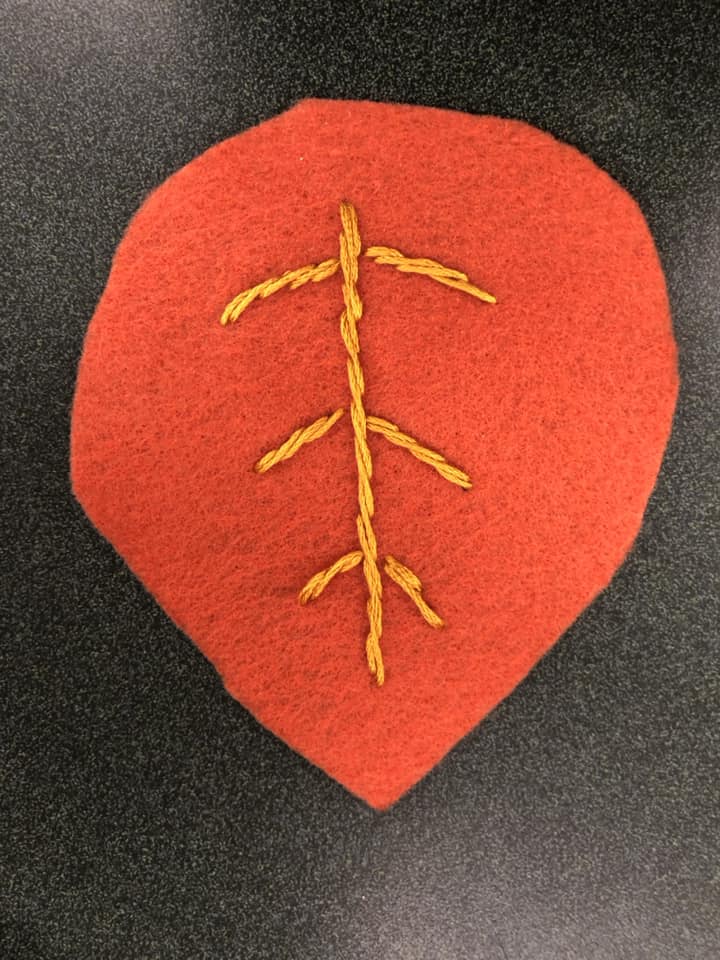
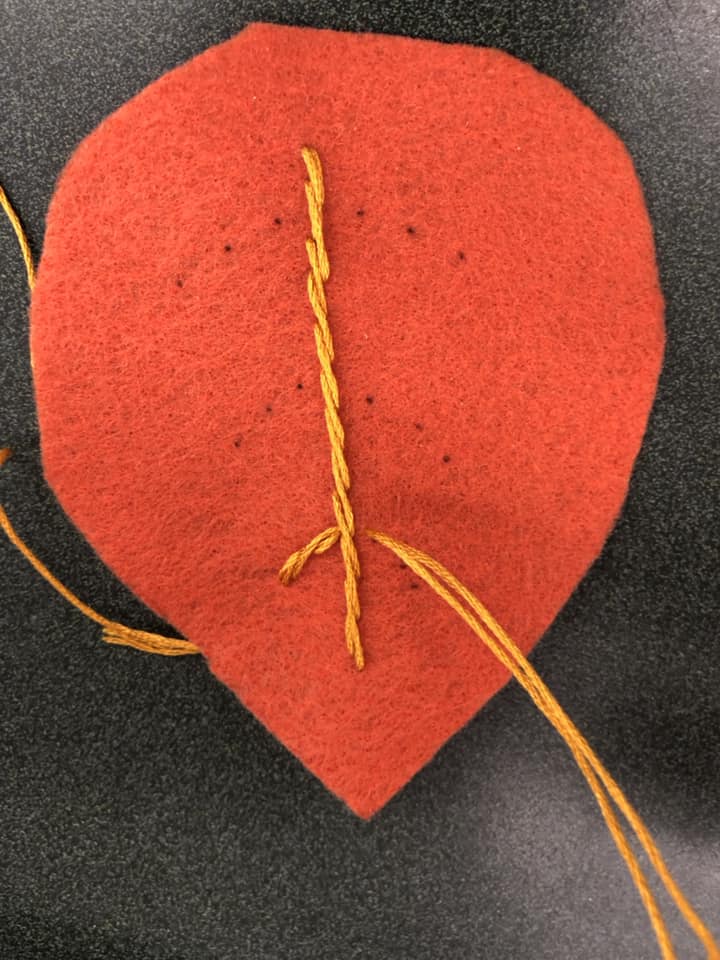
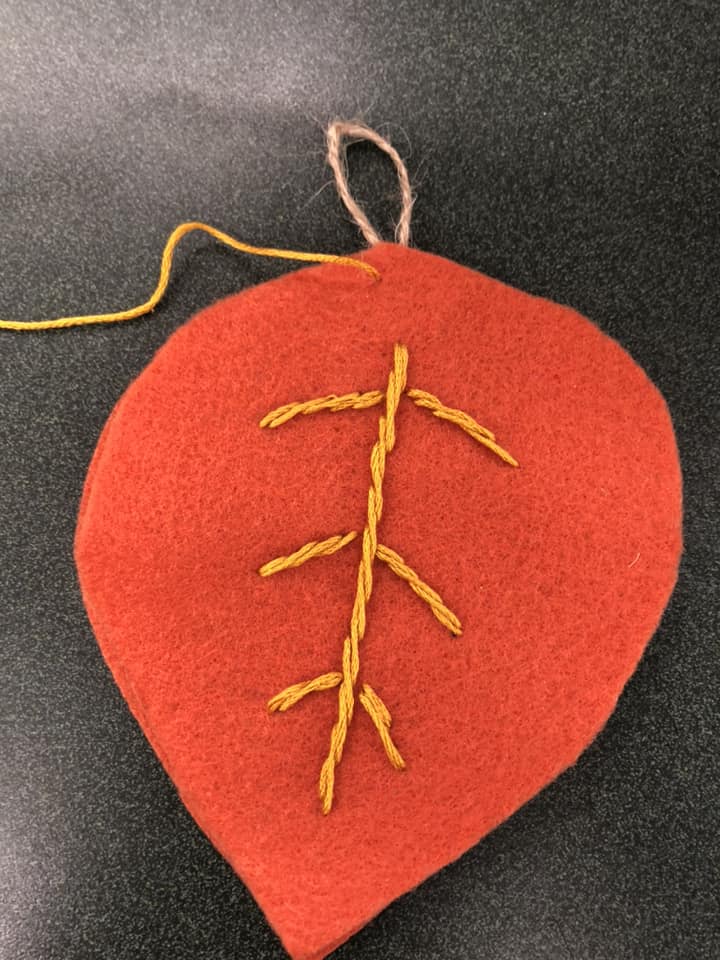
veins complete! Maybe do the same for the second leaf so when we sew the 2 sides together, they will both have veins.

No one will ever see this because it will be between the 2 pretty layers of felt
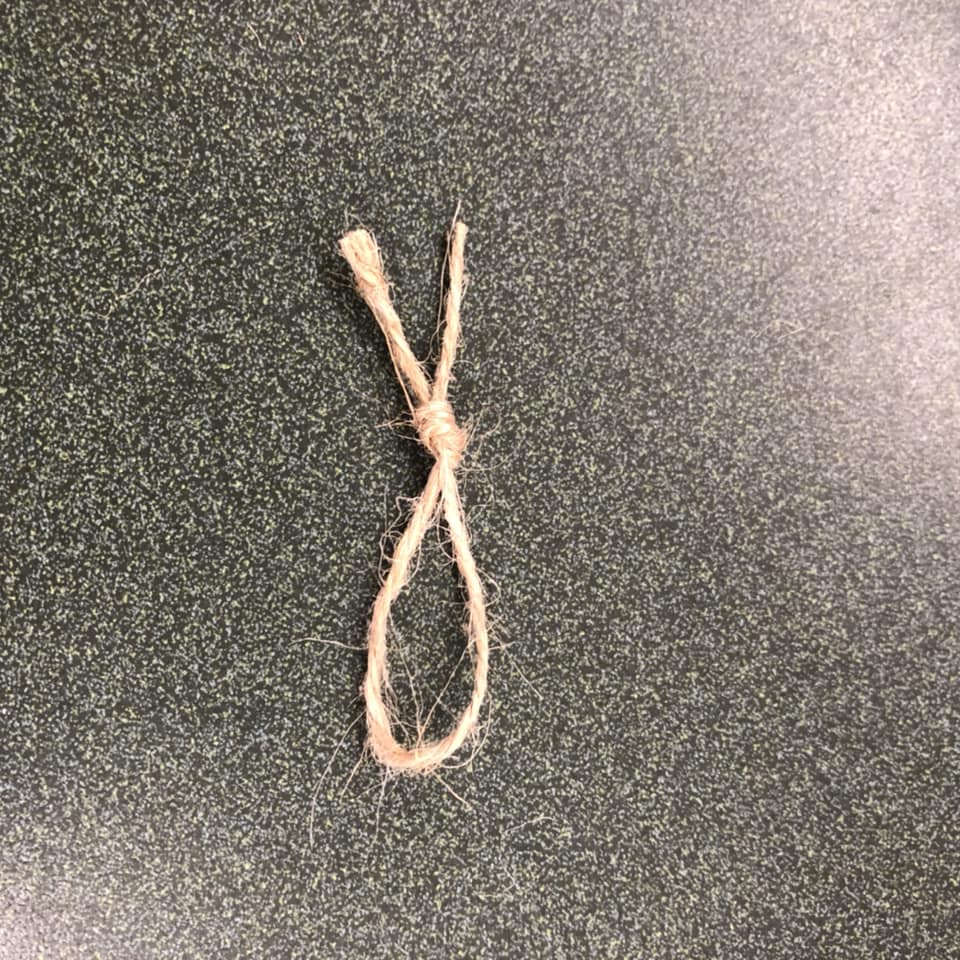
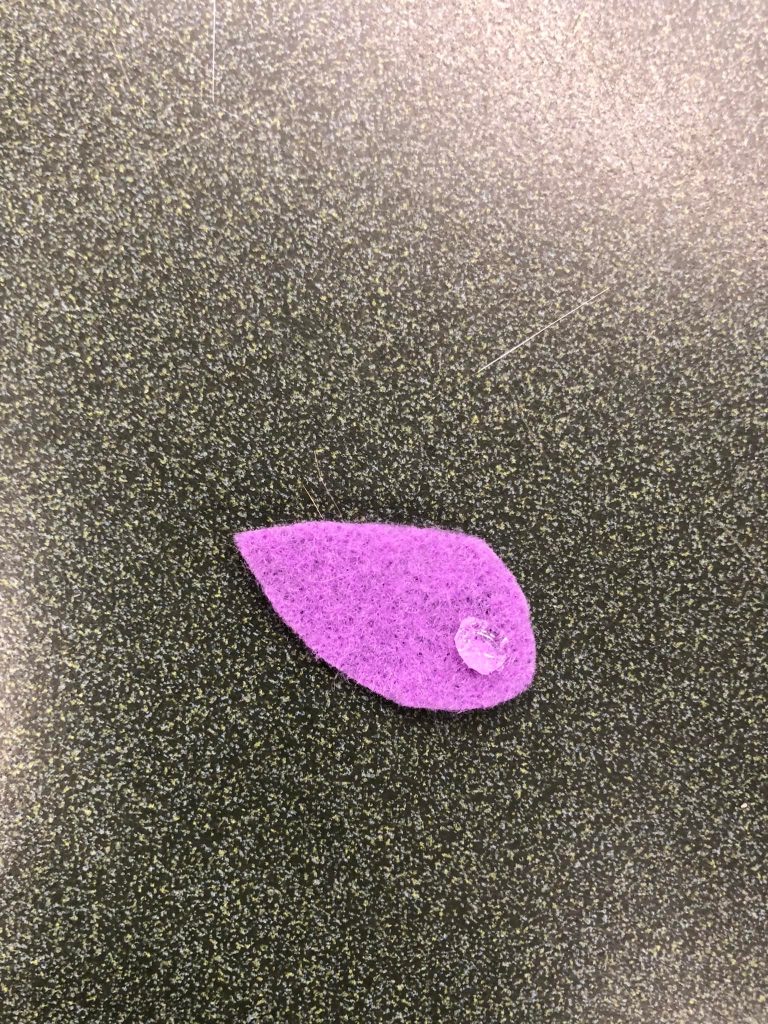
knot some twine to form a small loop for hanging your leaf on a garland if you like
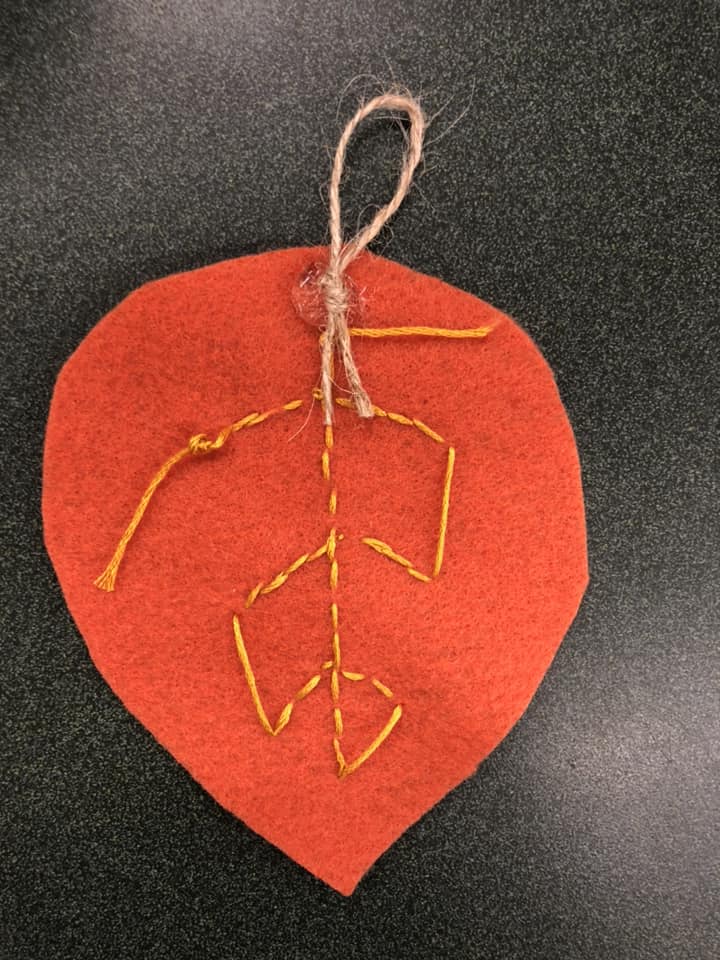
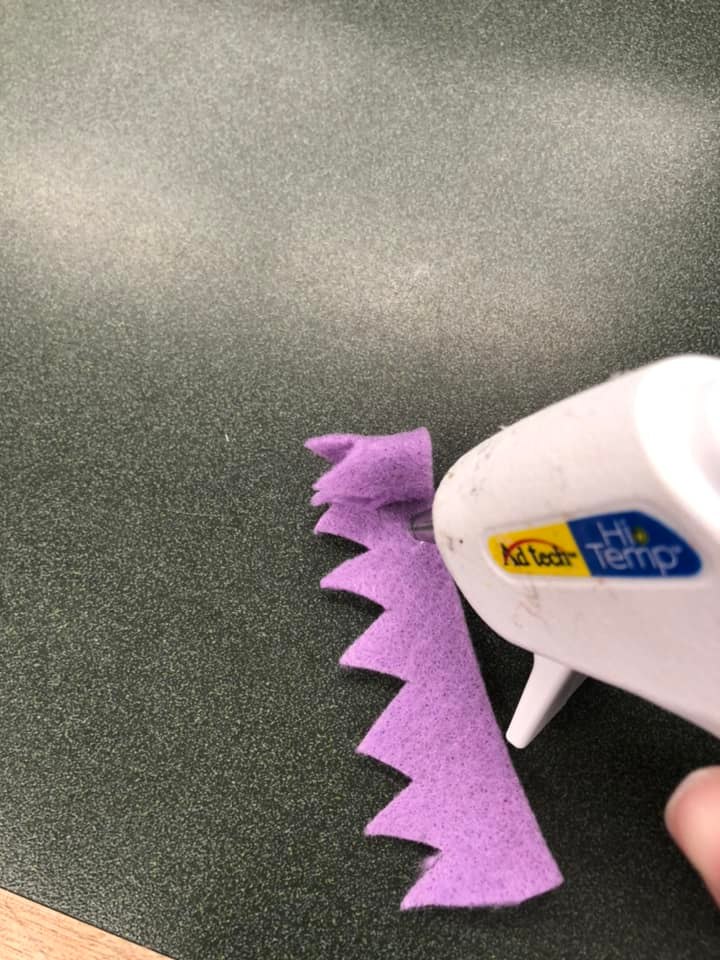
hot glue the twine loop to the wrong side of one of your felt leaves
begin blanket stitch: form knot and keep it on the wrong side of felt leaf
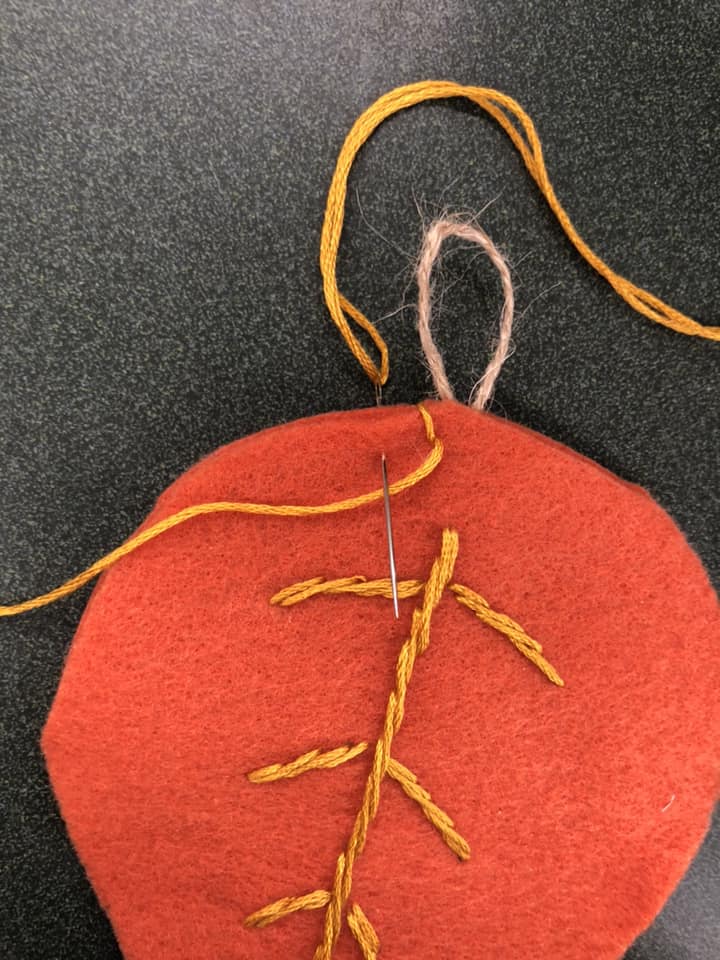
keeping floss to the left, make a second stitch in the same hole (or close to it)
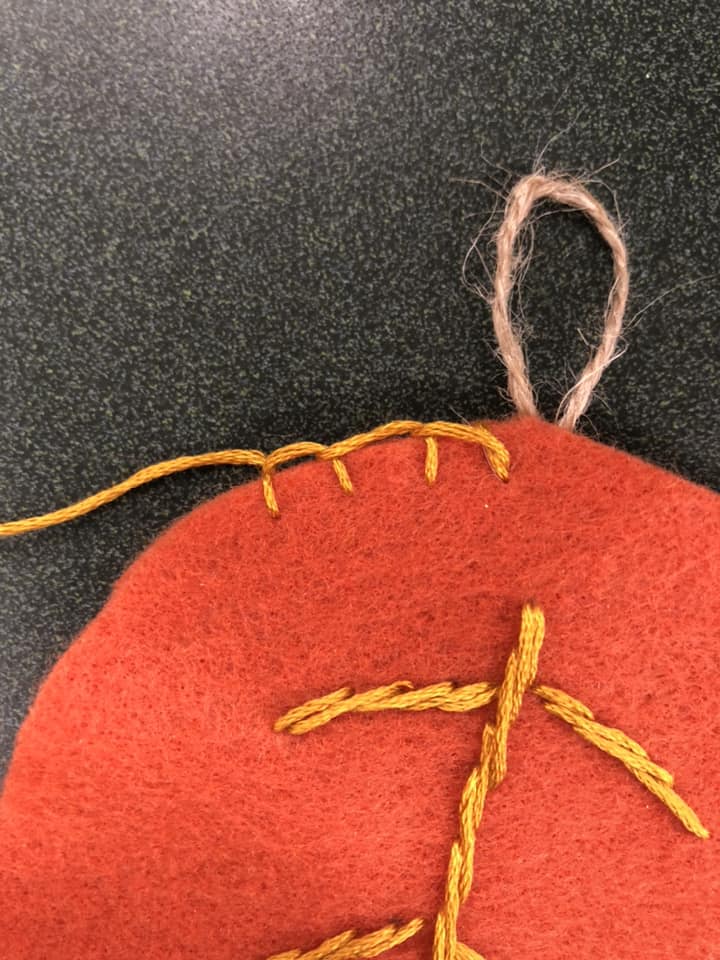
always keeping floss to the left, make stitches around the edge
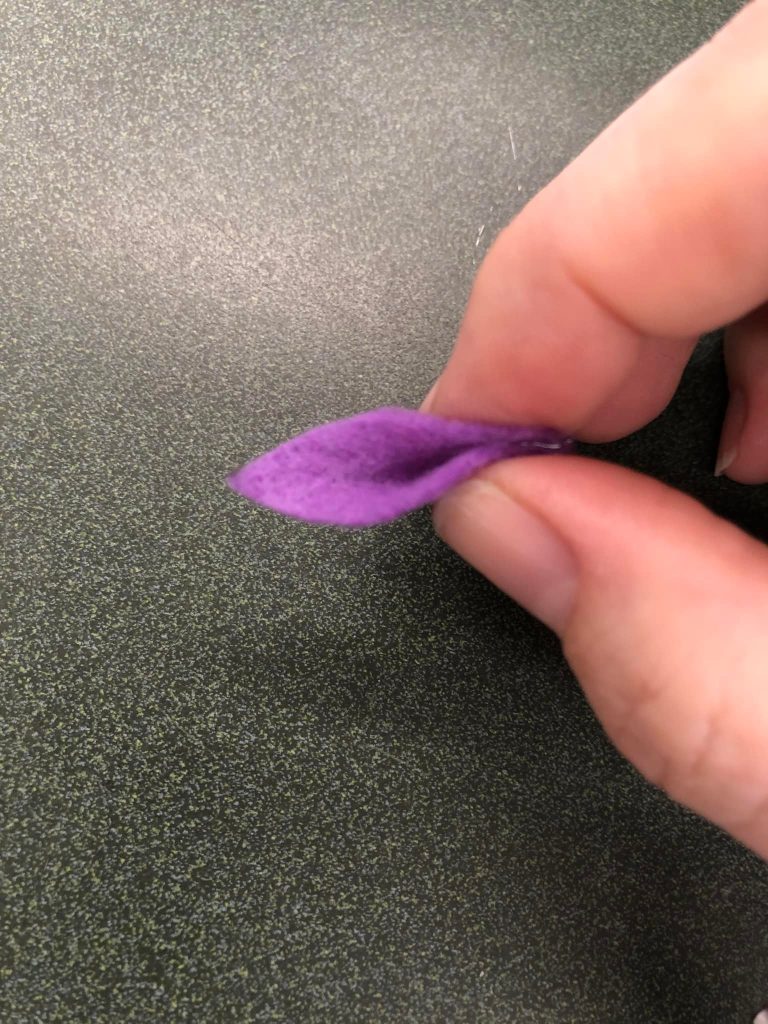
this will cause the floss to frame the outside edge of felt leaf
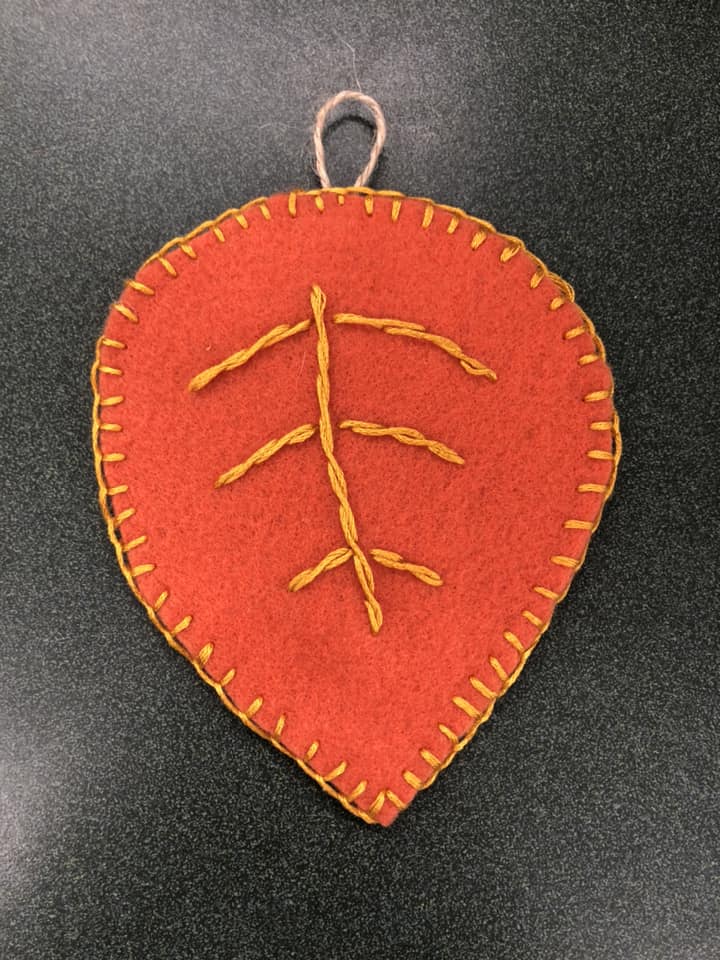
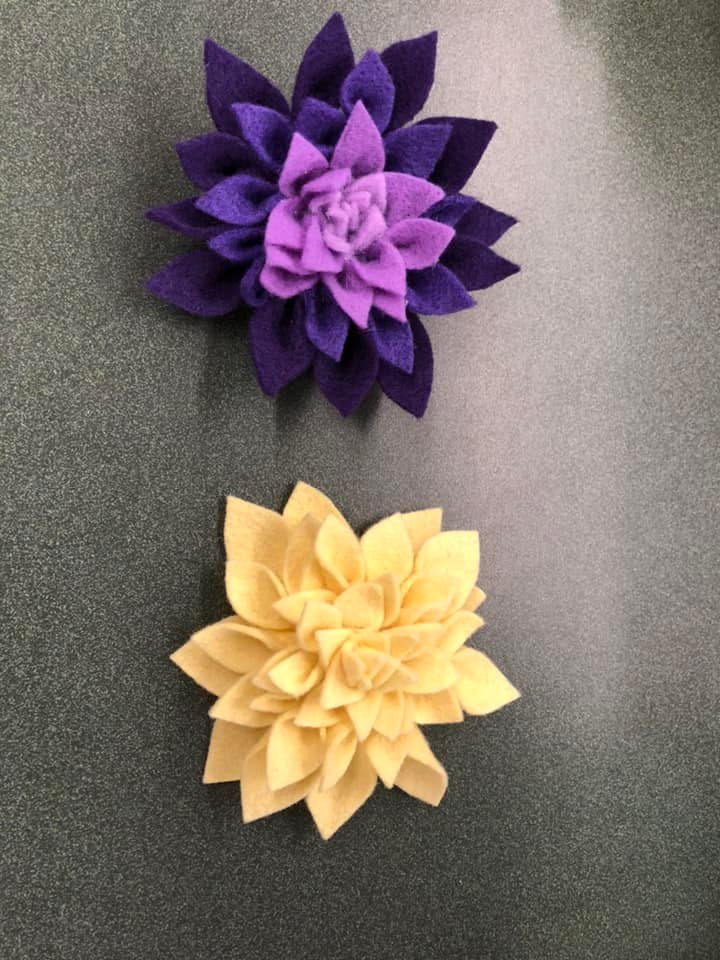
finished project should look something like this