Origami Dress
Origami Dress
https://pin.it/7LKAxiu (Pinterest pin from inspirefind.com)

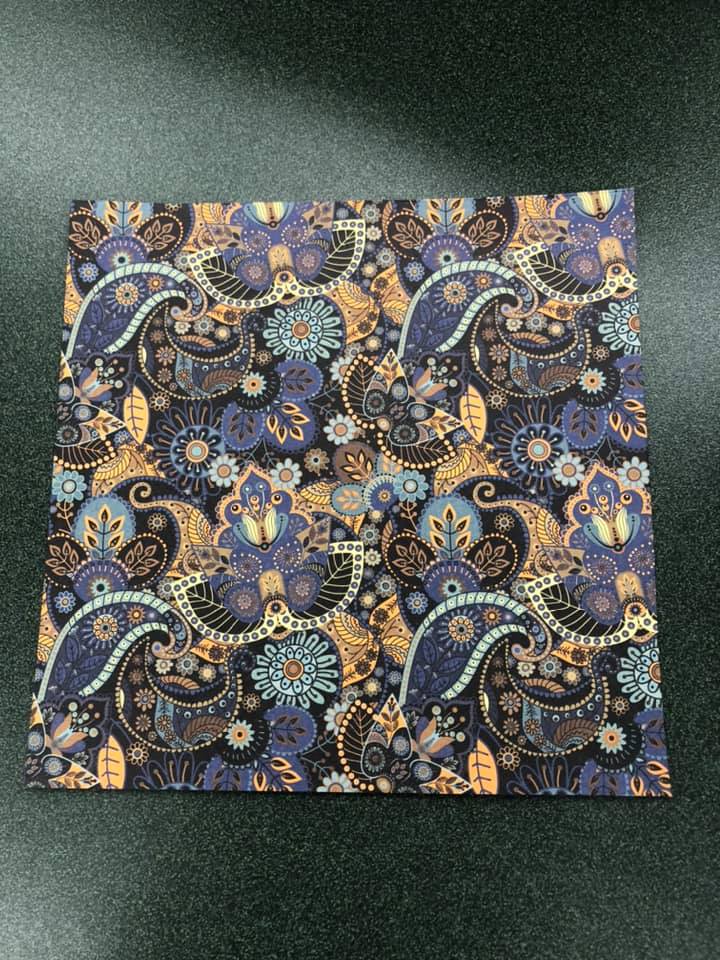
- Select a piece of 6” X 6” cardstock or scrapbook paper
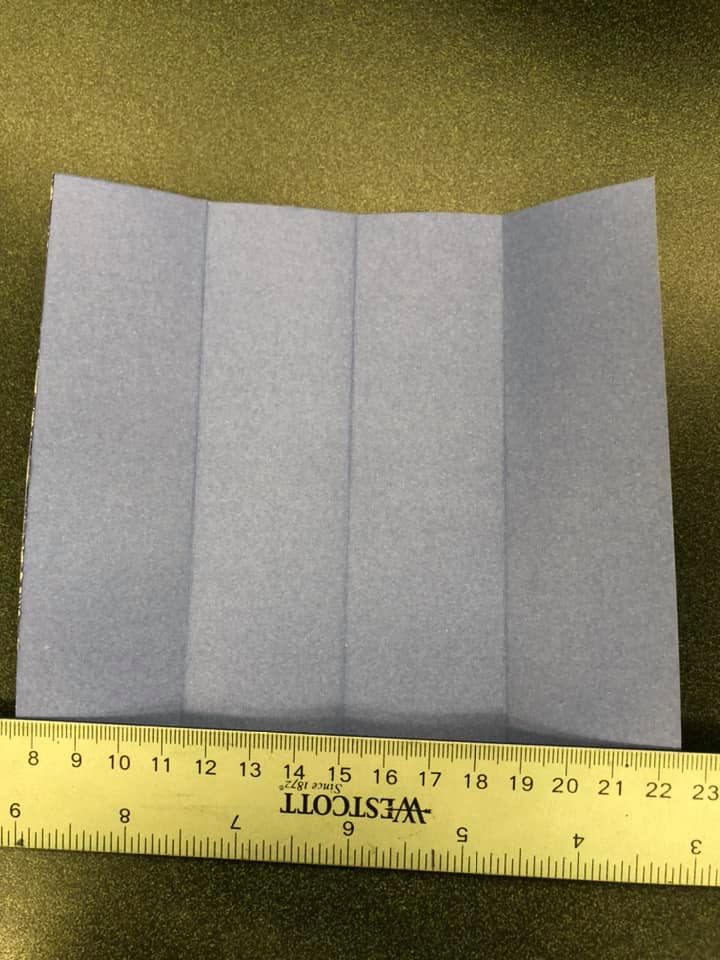
- Fold in half and crease, then fold those halves again and crease like the image below (This is the backside or “ugly side” of my work where it’s easier to see the folds, ignore the ruler)
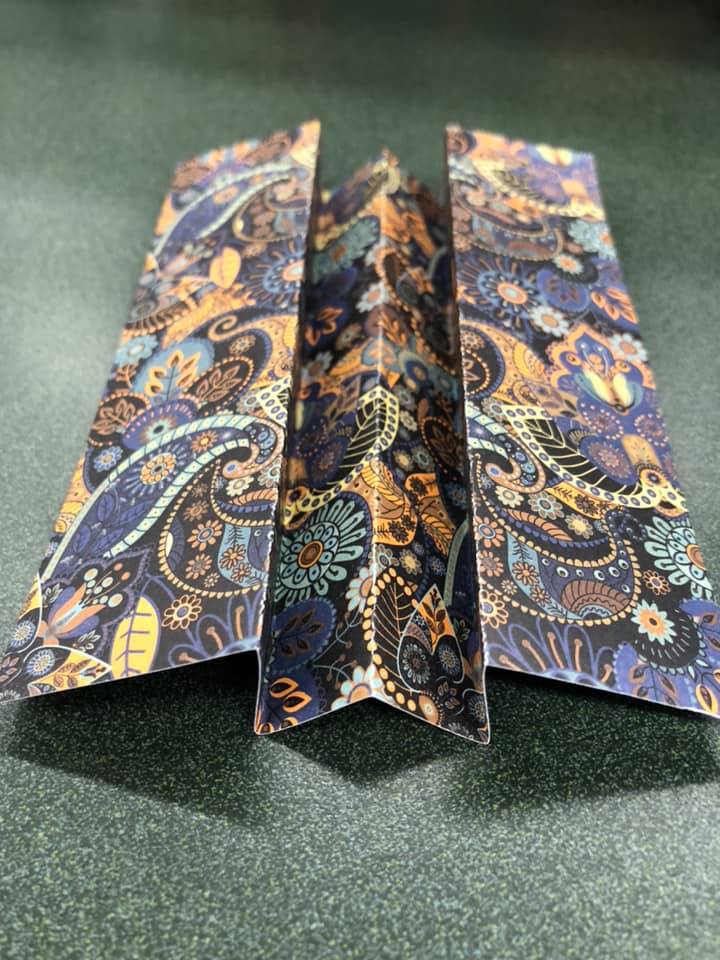
- There are now 3 creases to your work. If we number them left to right as “1/2/3”, our next step is to turn work to the front “pretty side” and fold creases 1 and 3 in the direction of crease 2. The image below will show you both pretty side and ugle side.
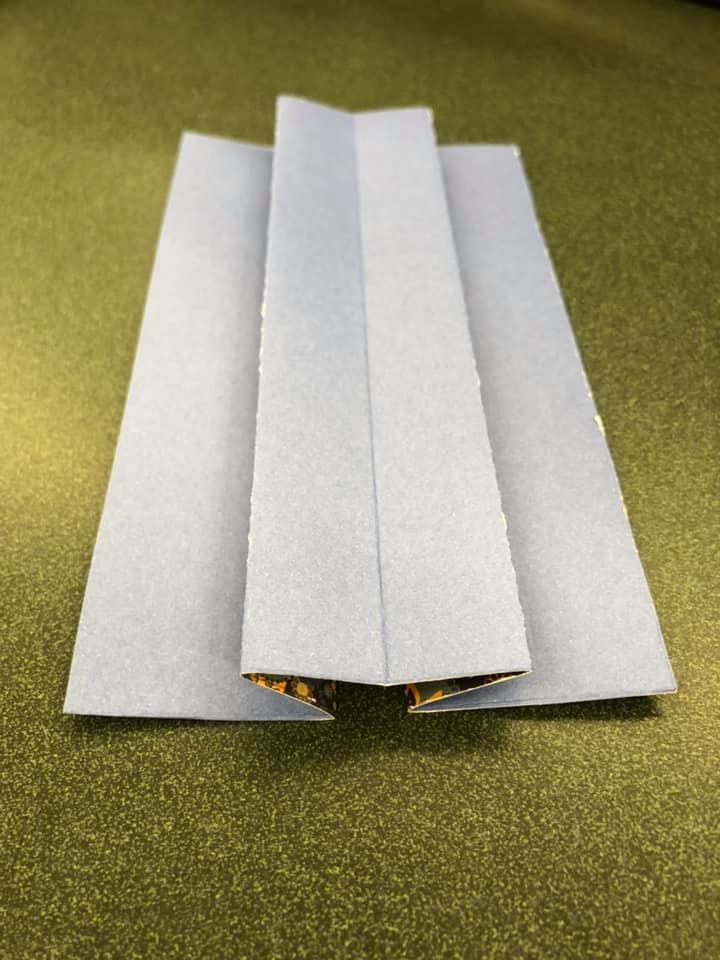
- Now fold your piece in half top down, with pretty side on the outside, like the image below. It should look a little bit like a wallet.
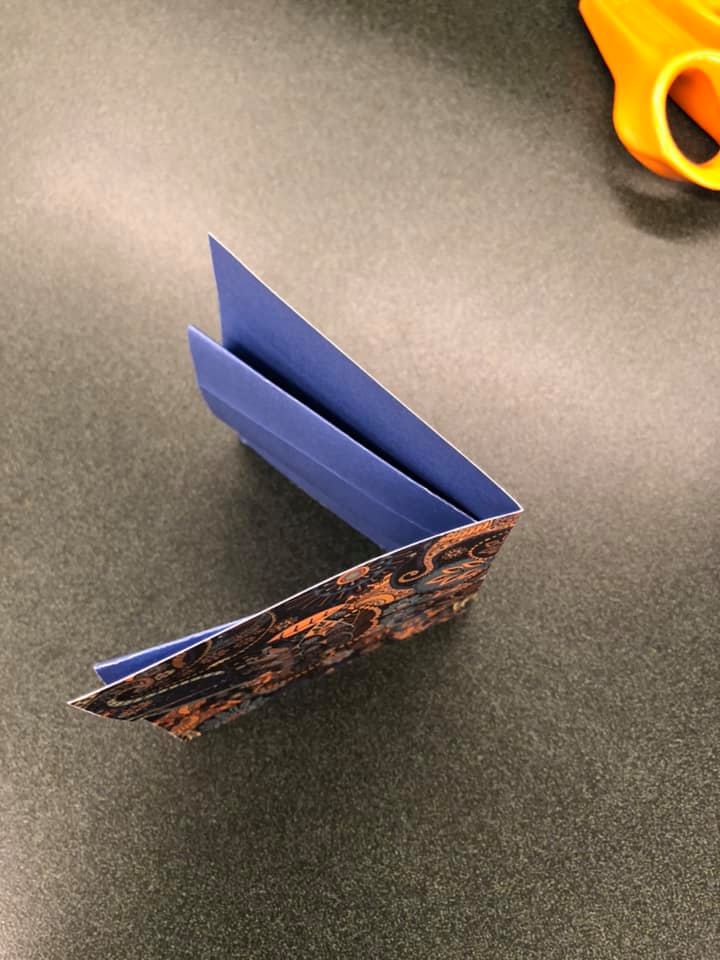
- Next make a short crease (I did not measure but ended up with about a half inch) above the center fold. Your work should now look like a letter Z.

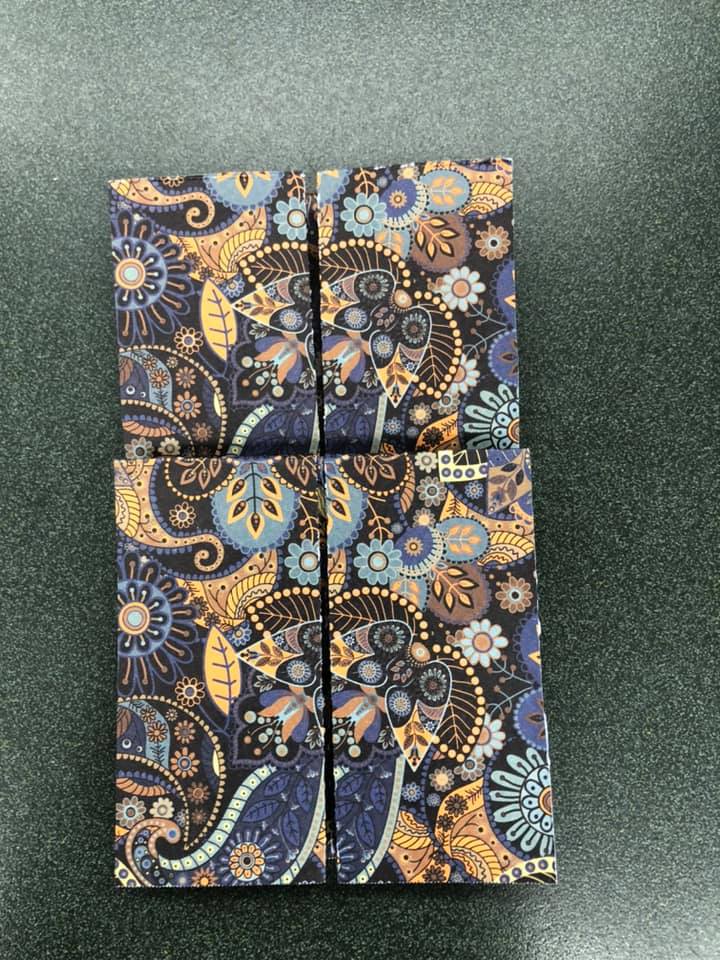
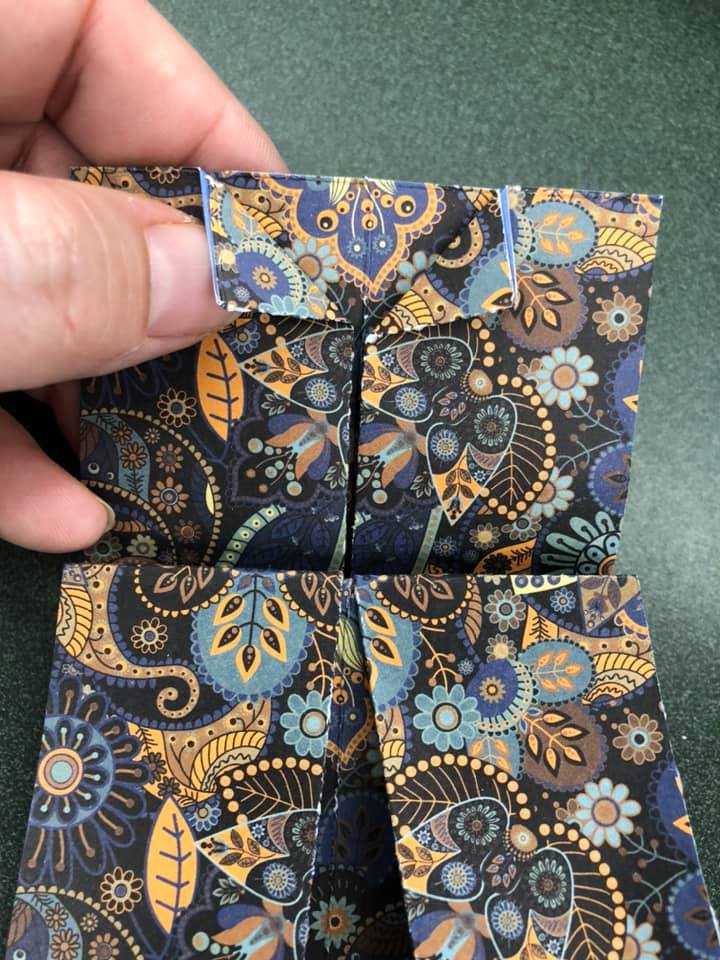
- Turn work to the pretty side and align top down. It should look like the image below. You should notice that there are 4 parts: 2 shorter above and 2 longer below. Otherwise, it should be a rather neat rectangle.
- The 2 lower parts will make the skirt of the dress. You will pull the bottom right corner to the right and press it with your fingers. Afterwards, pull the bottom left corner to the left and press it with your fingers. This will create an A-line to the skirt.
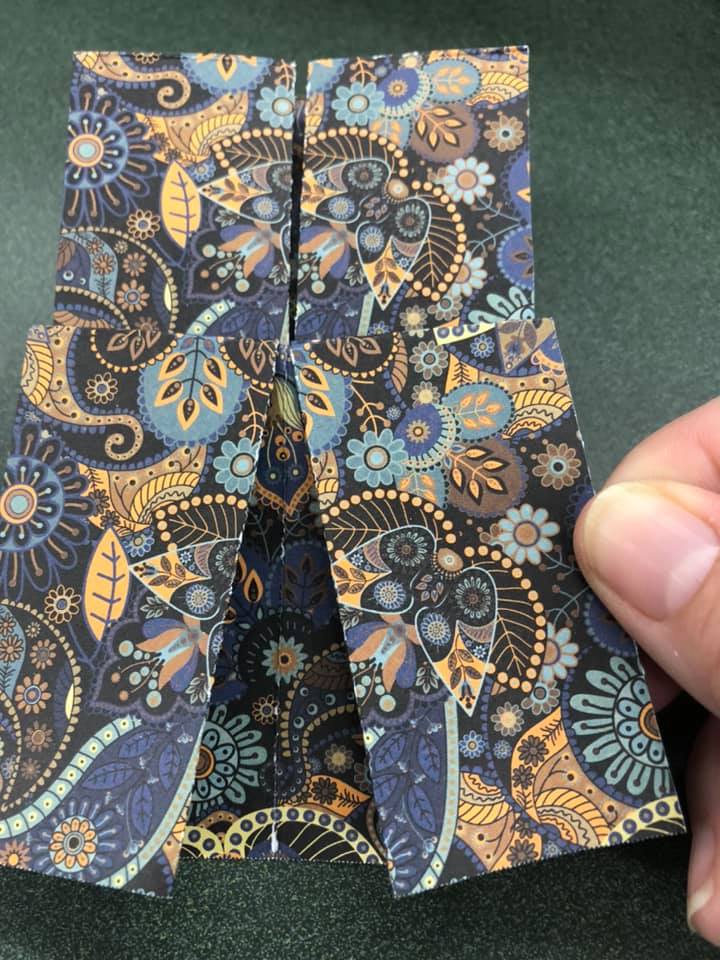
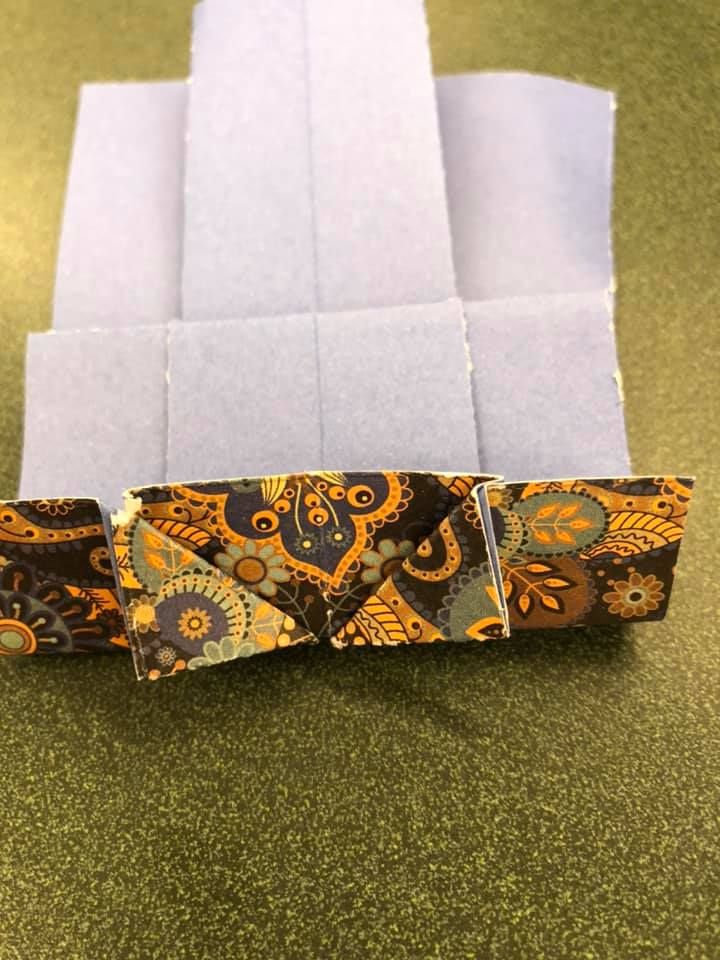
- The 2 upper parts will make the dress bodice. Begin by making a neckline. Fold and crease the centers top-down like the image below.This should look like lapels.
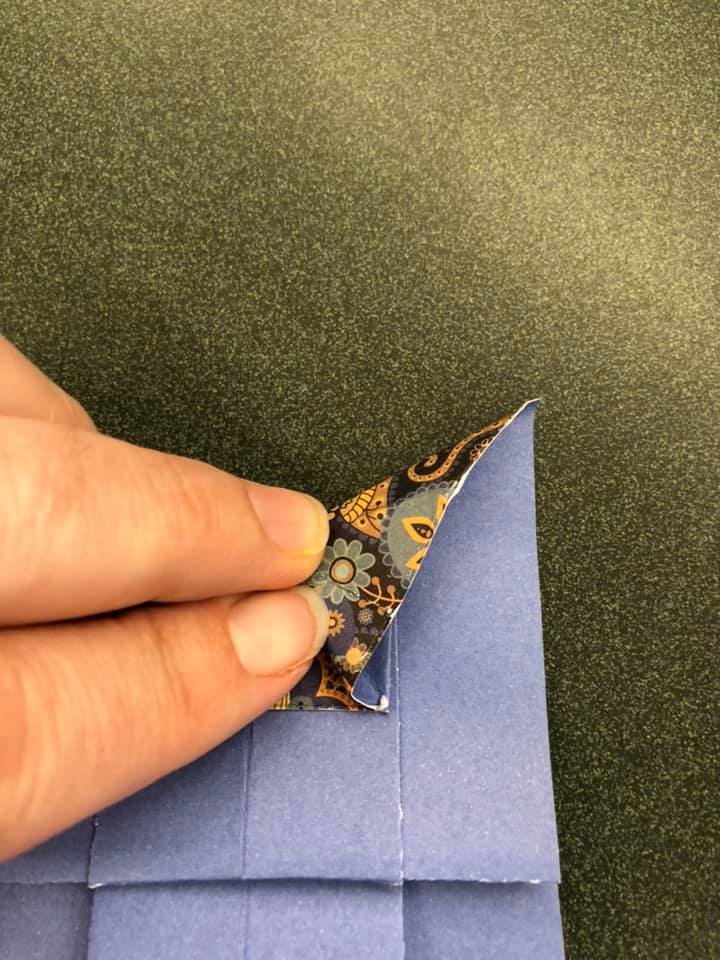
- Keeping lapels pressed open, fold entire bodice in half, top down, following the lapel line. Below is a view from the ugly side of this step. I’ve even ripped the corner of my lapel a little bit but you’ll never see it in the end.
- The next step was the most difficult for me. I hope I can break it down for you! I had to unfold the right lapel and re-crease it, making a triangle piece that came to a clean point on the right side. I repeated the same on the left lapel.
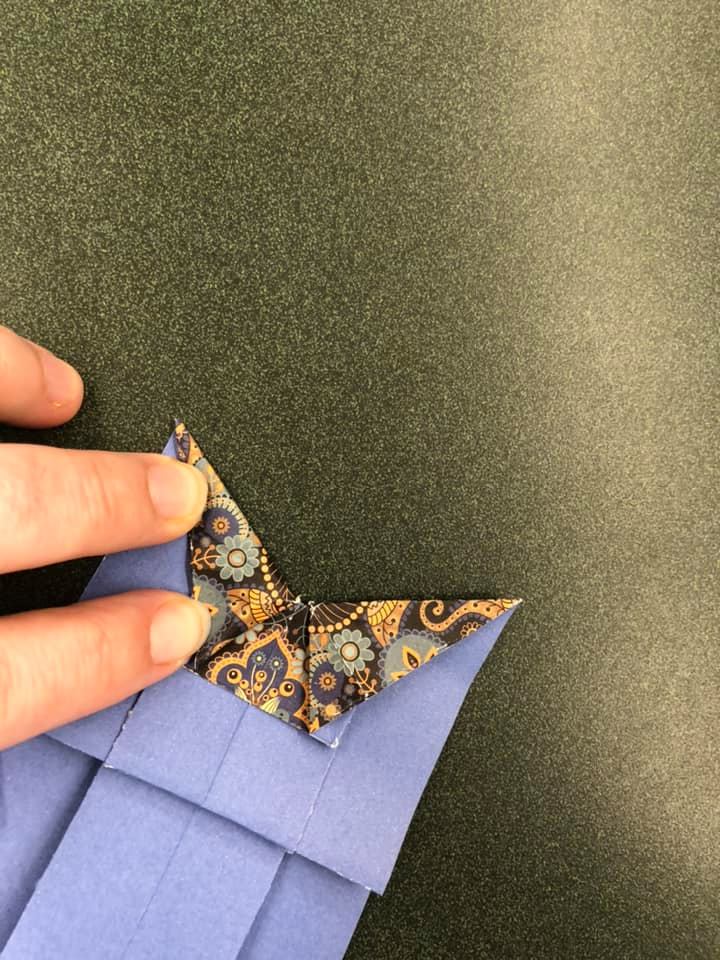
- The image below is both lapels turned in a boat neck neckline.
- Congratulations! It’s all much easier from here to the end. You got this! Fold both bodice sides towards the back, making a narrow waistline. You will also fold a portion of the skirt to the back, completing the A-line of the skirt.
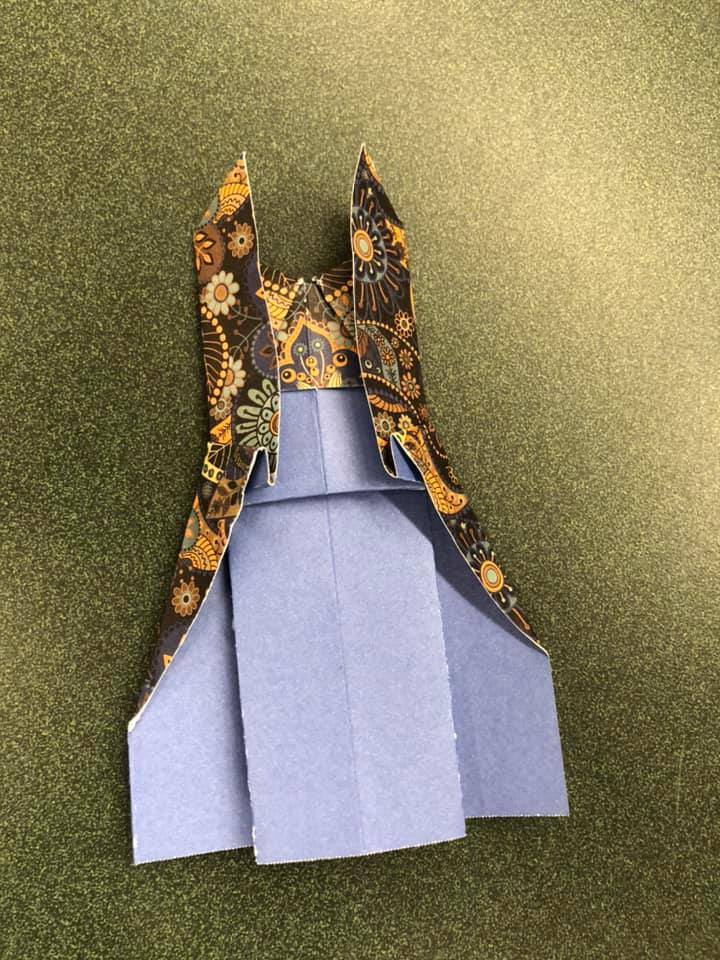
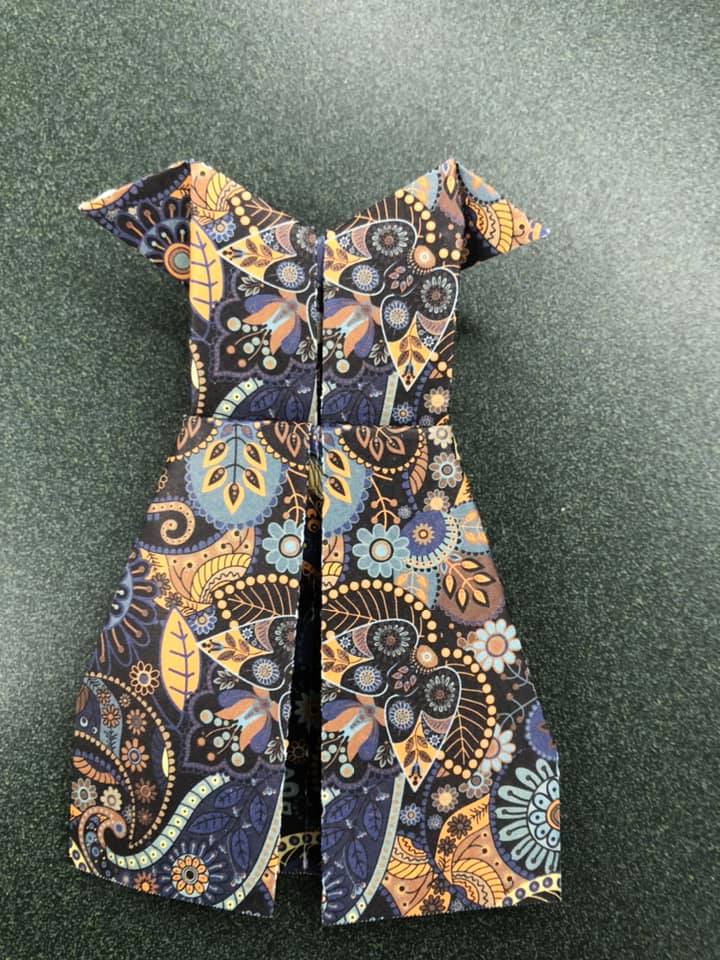
- Turn work to the pretty side and fold the 2 top points directly to each side, making cap sleeves. Ta da! You’re done!