Julie’s Apple Pie
Julie’s Apple Pie
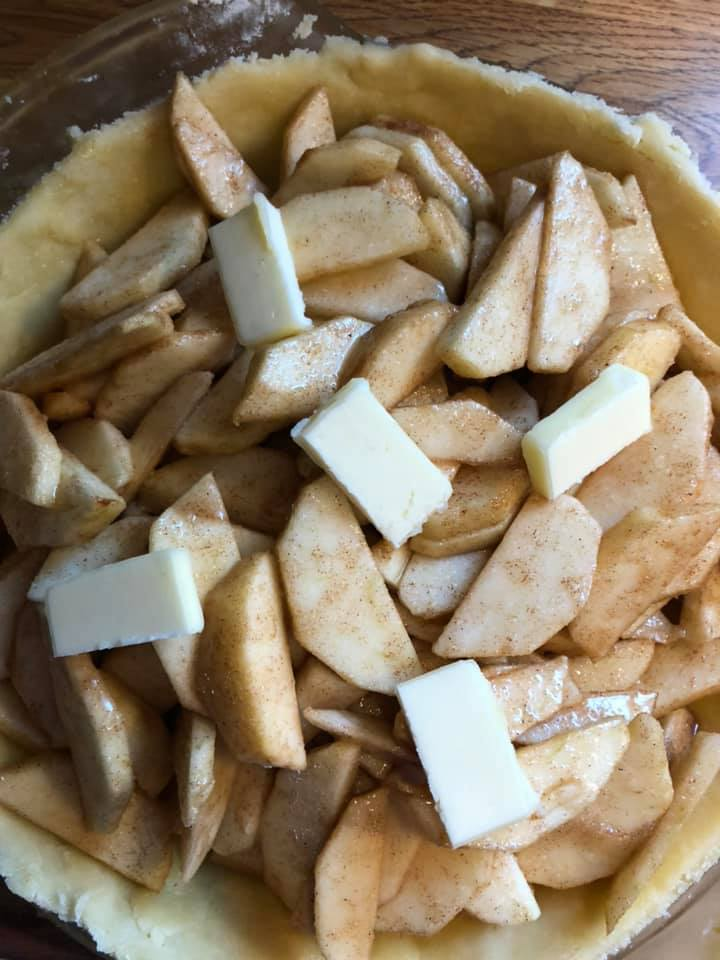
This recipe is only for special occasions, or when you REALLY want to show your love, or you have botched things so badly that you need redemption. I’ve found that a truly great pie has no real shortcuts, so plan on this taking about half your day and most of your creative energy. Here’s a picture of my pie just before being baked:

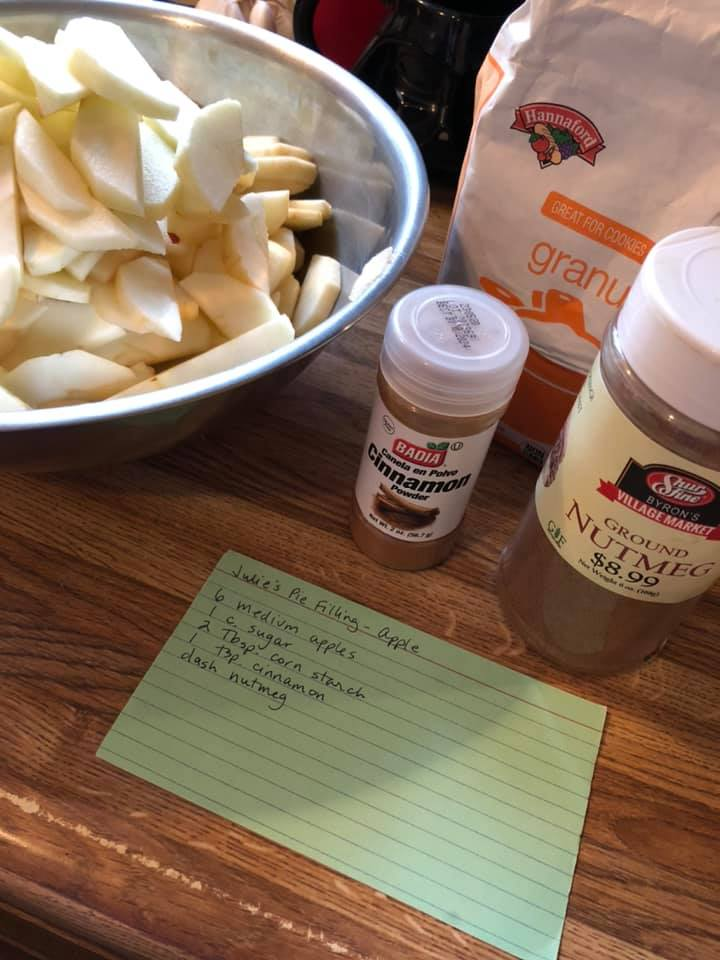
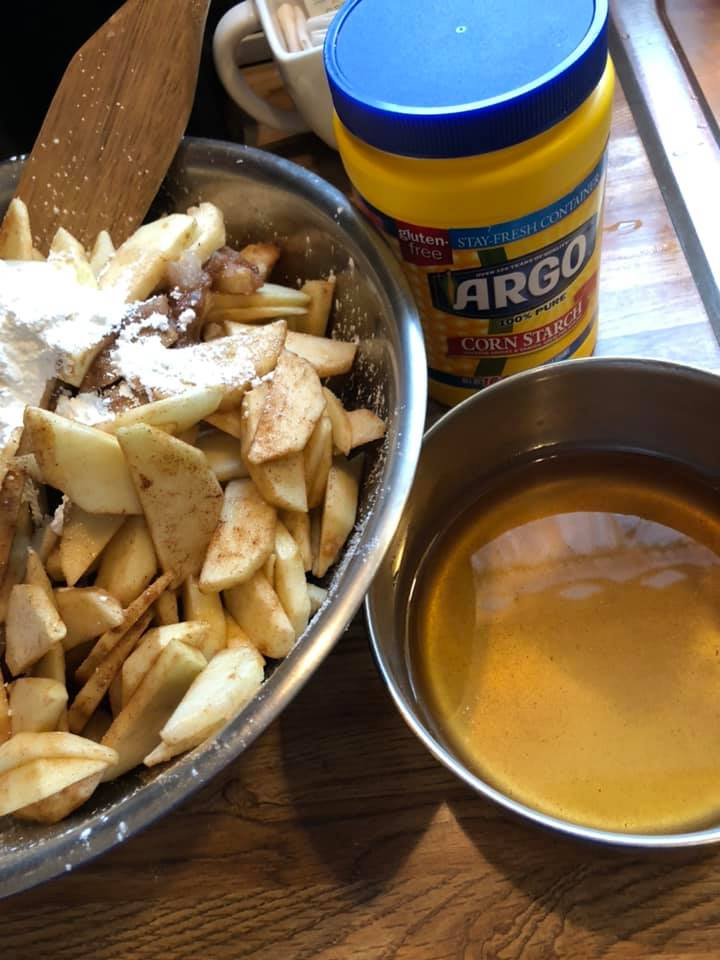
I typically begin peeling and slicing 6-8 apples. We like Macintosh, but you may choose any apples you like. Place in mixing bowl and add:
1 cup sugar
1 teaspoon cinnamon
Dash nutmeg
Stir gently and place in a colander with mixing bowl beneath. As the apples release juice, you’ll catch the sugary drippings in a bowl for later. Just you wait. It’s gonna be epic. We’ll add the 2 tablespoons of corn starch just before baking.
Next, you’ll begin the crust.

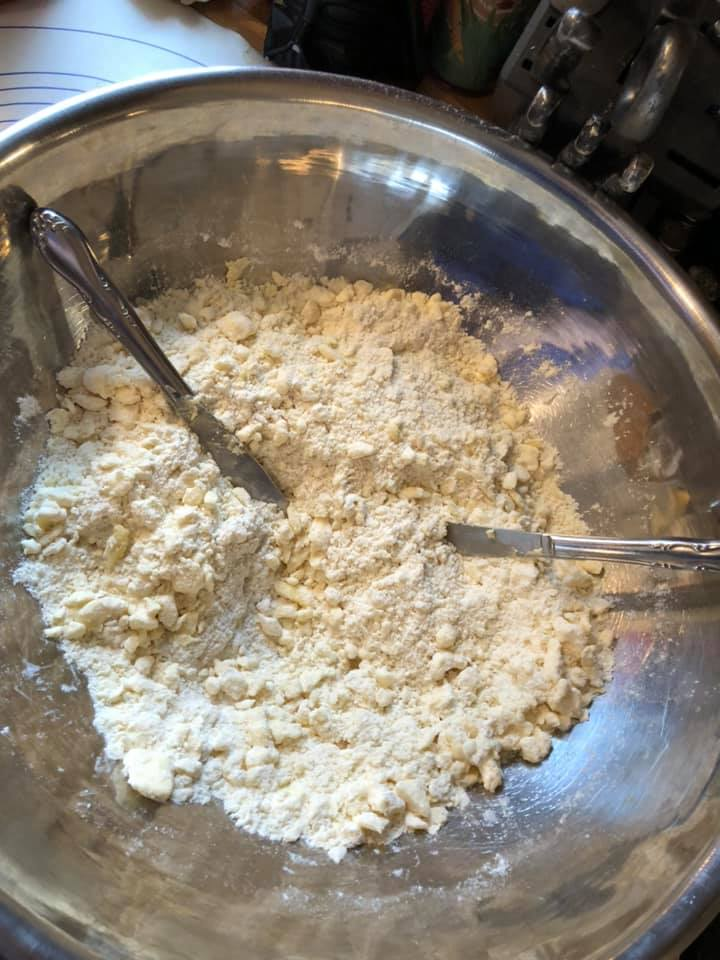
In large mixing bowl add:
2 cups flour
¼ teaspoon salt
Combine gently and add:
1 cup butter flavor crisco (I buy the premeasured sticks)
Using 2 butter knives, cut the crisco into the flour mixture until the pieces of crisco are small.
Now add ¼ cup cold water and stir using knives until blended. This is when I usually roll up my sleeves and gently massage the dough until it all comes together.

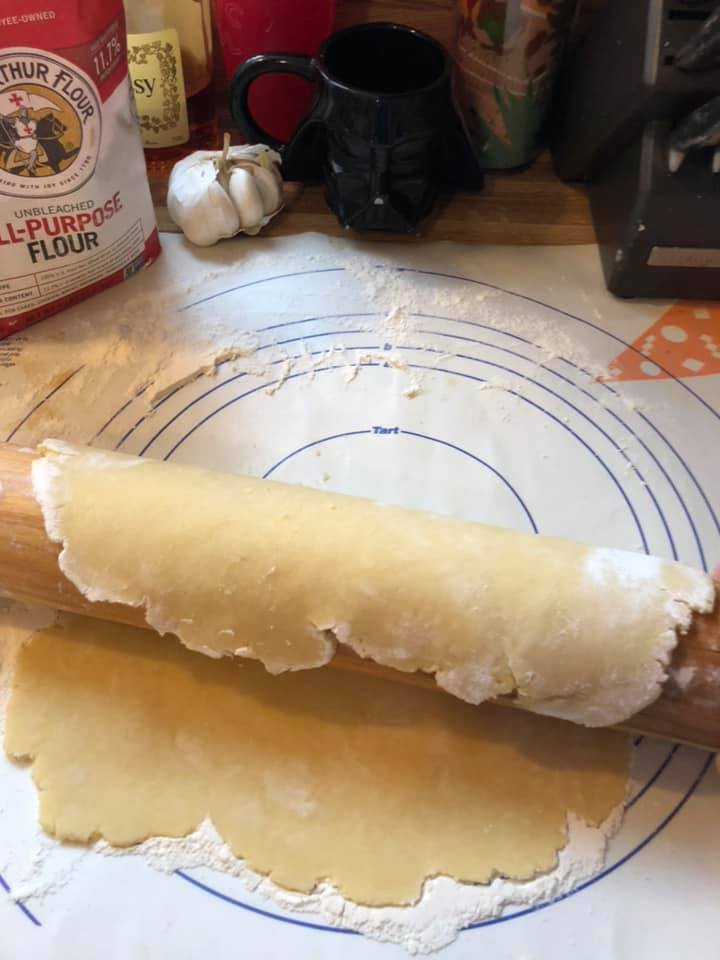
Time for a tip: If you place your dough ball between 2 layers of wax paper (sprinkled with a dusting of flour), you may find it is easier to roll it out without too much cracking and breaking of the dough (or use a pastry sheet or a countertop but you’ll want plenty of flour on hand for dusting these surfaces). You may find that you are beginning to use salty language and subtly resenting the person who will be receiving this pie. Don’t worry, this is normal.
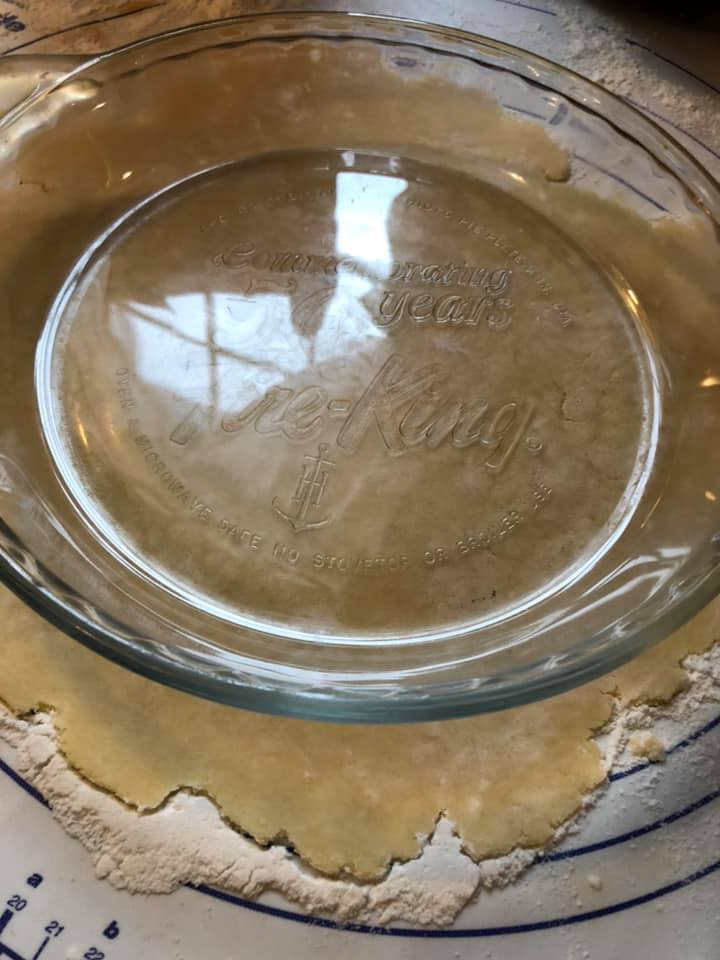
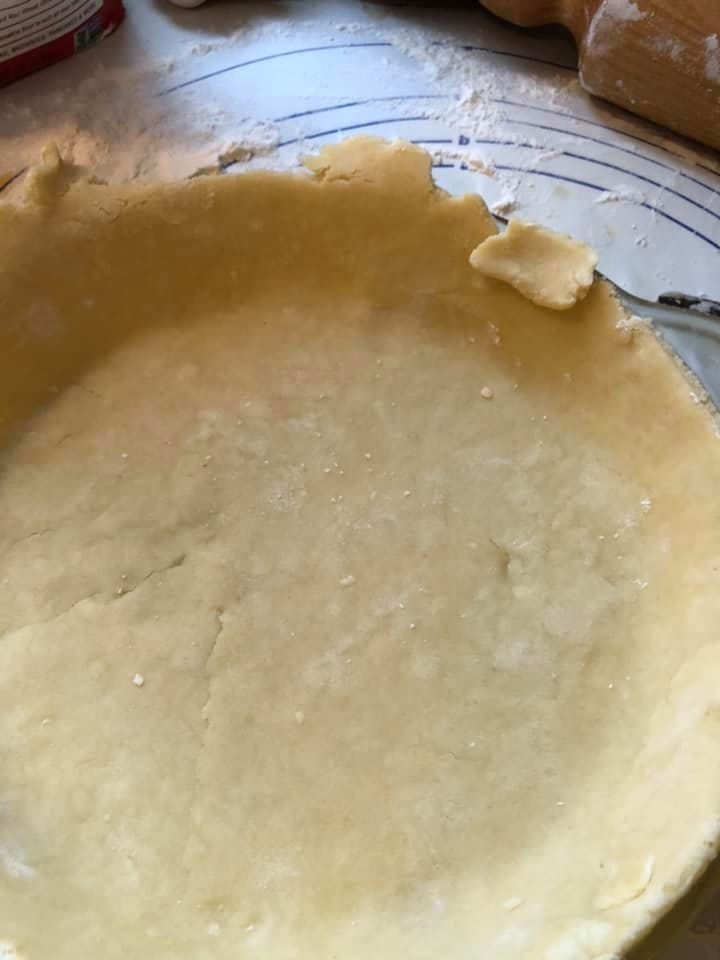
How do I know when my crust is large enough to fit the plate? Set the pie plate on top of your crust and see how it measures up.
When your dough is ready, roll it up VERY GENTLY onto the rolling pin. If it starts to stick to the surface, hold your rolling pin in one hand and a butter knife in the other. You can gently scrape the dough from the countertop without ripping the rolled crust.
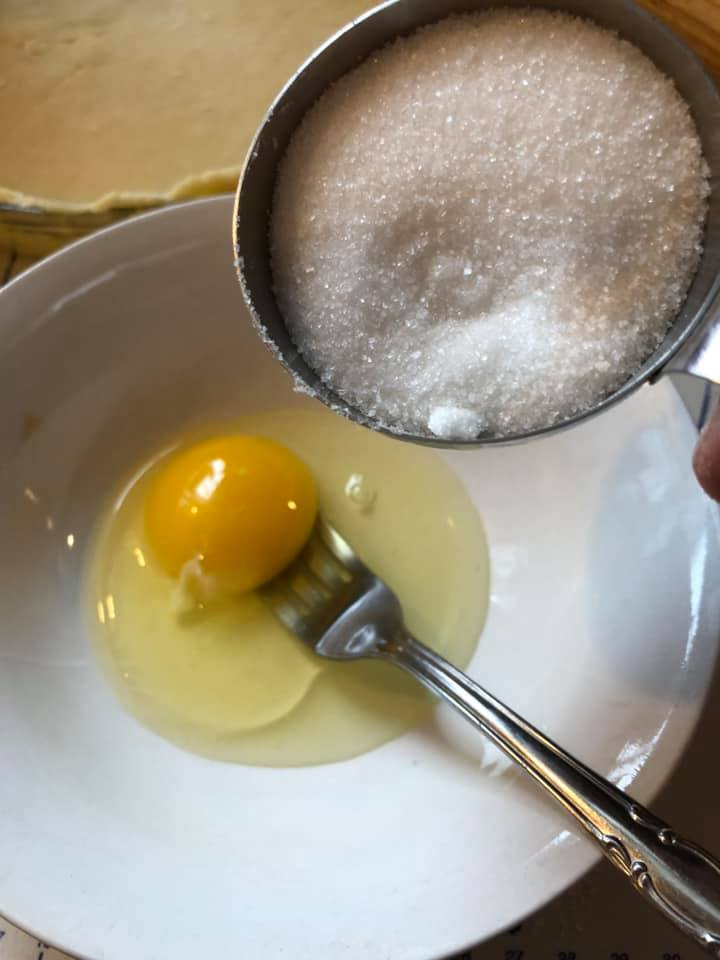
Time for a tip: in a small bowl add:
1 egg
⅛ cup sugar
Whisk together and pour half onto your raw crust (Julie usually makes 2 pies at a time and uses up the whole mix). Why is this so important? The sugar will settle onto the crust and crystallize. The whisked egg will bake like a super thin scrambled egg (one that you’ll never taste considering all those juicy, tart apples). This will protect your bottom crust from getting all soggy when the pie bakes. You’ll really notice the difference when you are trying to serve your pie.
Place your pie plate in the refrigerator for 20-30 minutes. I’m told that the flaky crust is a chemical reaction caused by placing a cold pie in a hot oven. Works for me!
Back to the apples….you should find that they have released enough juice to pour into a small saucepan.
Time for a tip: before serving your pie, boil the apple juice down to a syrup. It is excellent for dressing the dessert plate and also makes a lovely drizzle on top of your slice with vanilla ice cream. Your guests will be grateful. Trust me.
Now you may add your 2 tablespoons corn starch to your apples. This will help the pie to not puddle with apple juice once you cut into it.
I always dot the top of my apple slices with a little butter. Because why not?
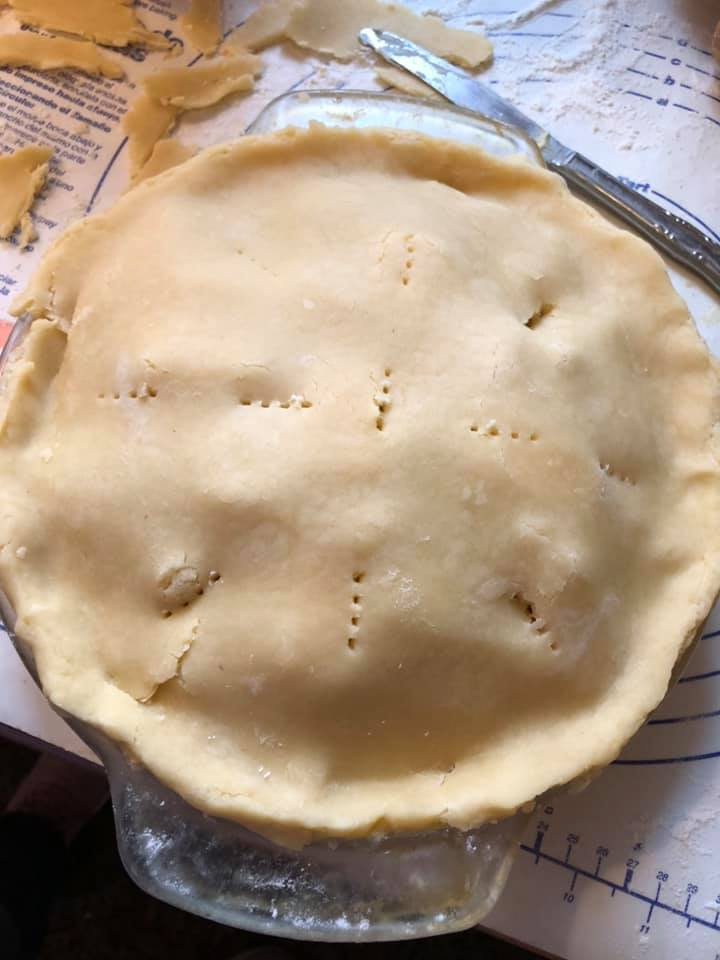
Repeat the “rolling out” process with your other dough ball, placing on top, and pressing edges together to seal them. Use a fork to make vent holes so that steam can escape.
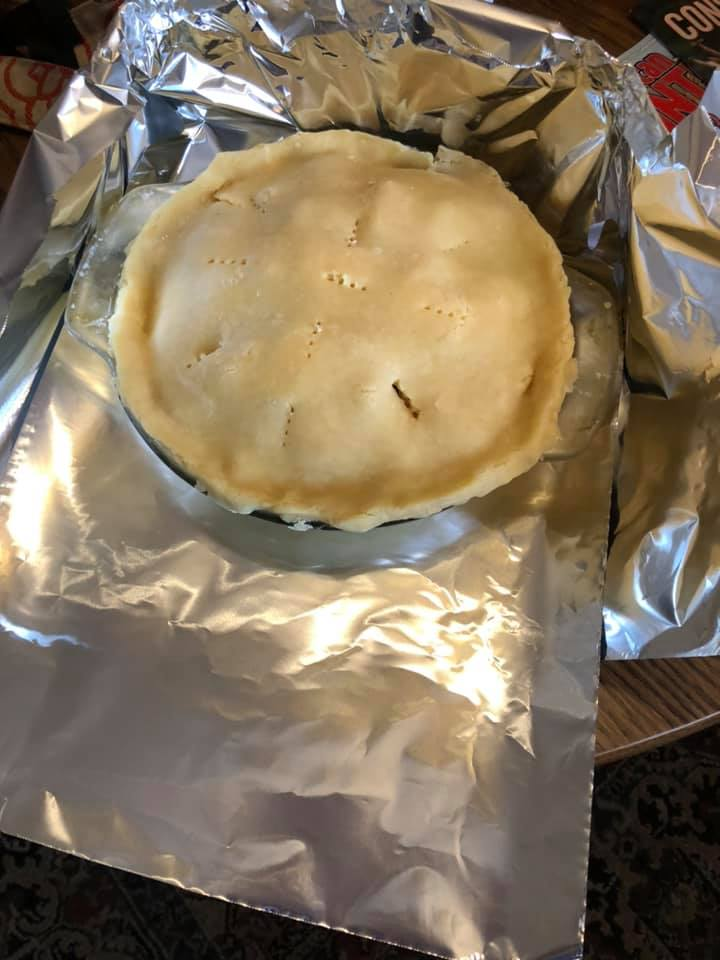
Time for a tip: use 2 long lengths of aluminum foil, criss-crossed, to place under your pie plate. Curl up the edges to form sides. This will prevent your crust edge from overbaking PLUS it will keep apple juices from overflowing and dripping on the floor of your oven. Please don’t ask me how many times I have tried burning the entire house down because of sugary apple pie drippings on the bottom of my hot oven.
Bake at 325 degrees for 2 hours (if you like your apples cooked down to completely soft, otherwise, for a little al dente, bake at 350 for 90 minutes).
Serve warmed with warm apple pie syrup (which you’ve made) with vanilla ice cream (a la mode), or with a piece of cheddar cheese (A pie without the cheese is like a kiss without the squeeze, by Grandmother used to say).
Enjoy!